Last updated November 21, 2026
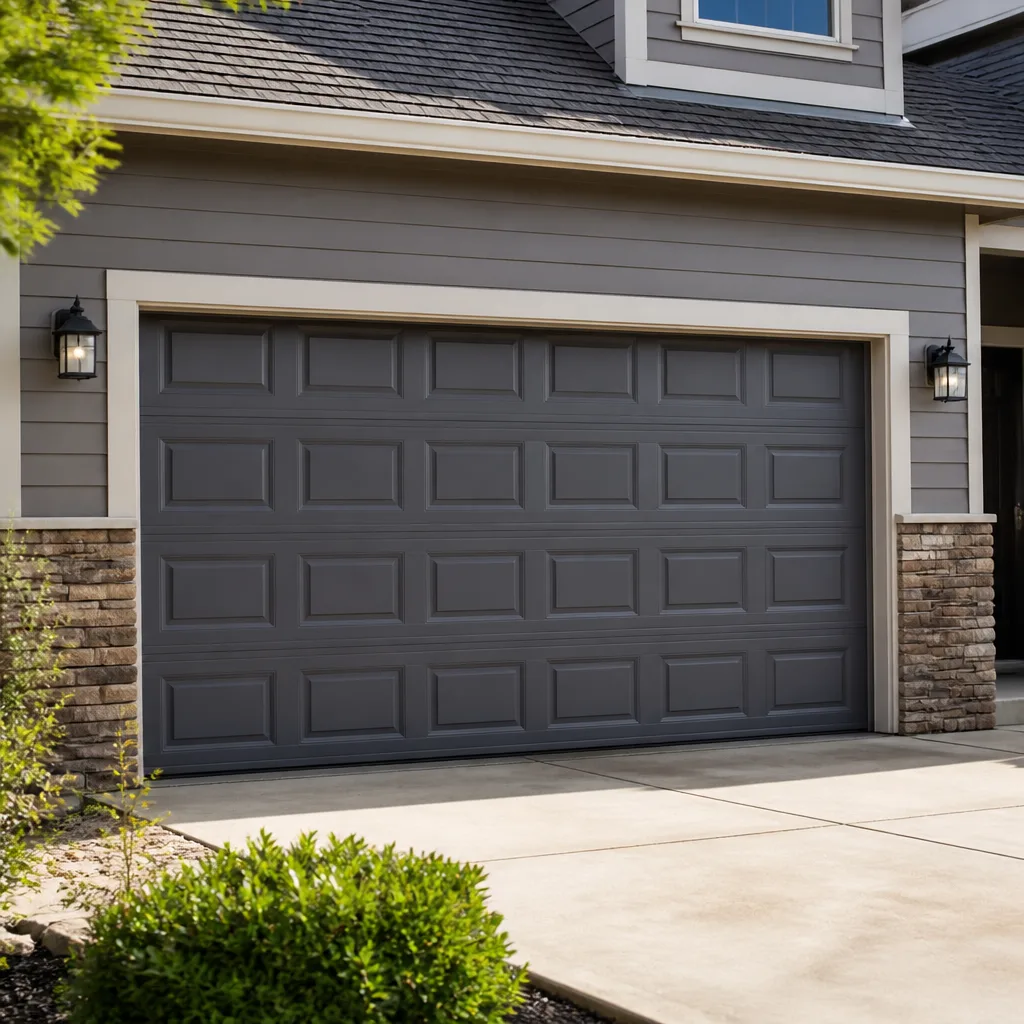 Raised-panel steel
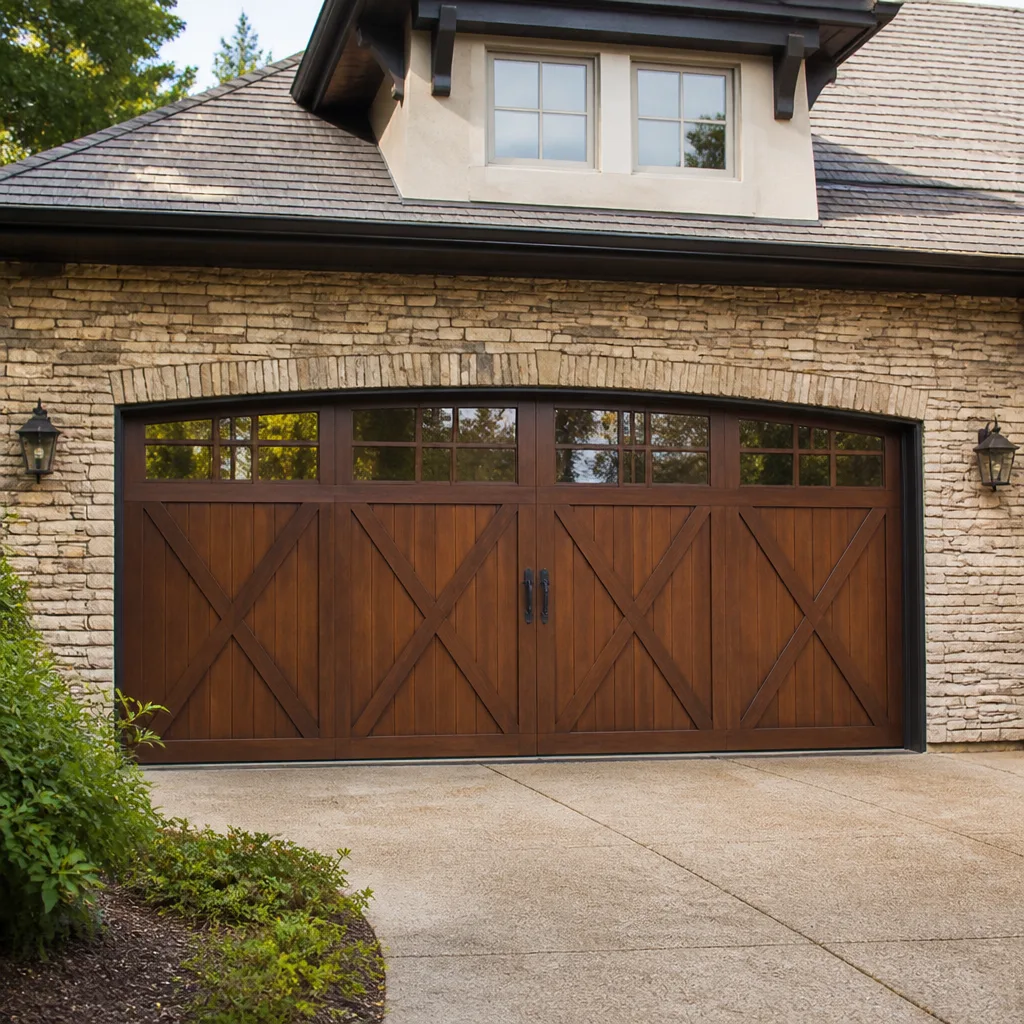 Carriage house
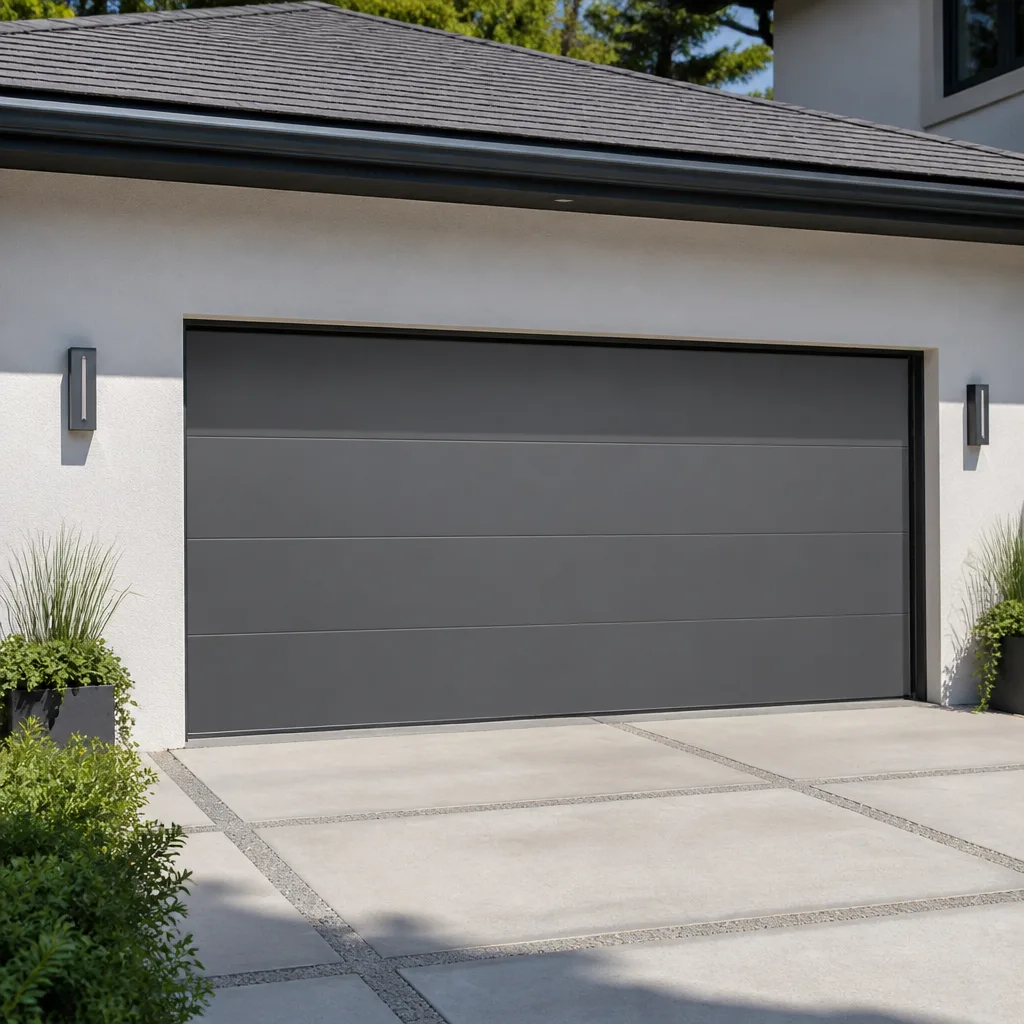 Modern flush
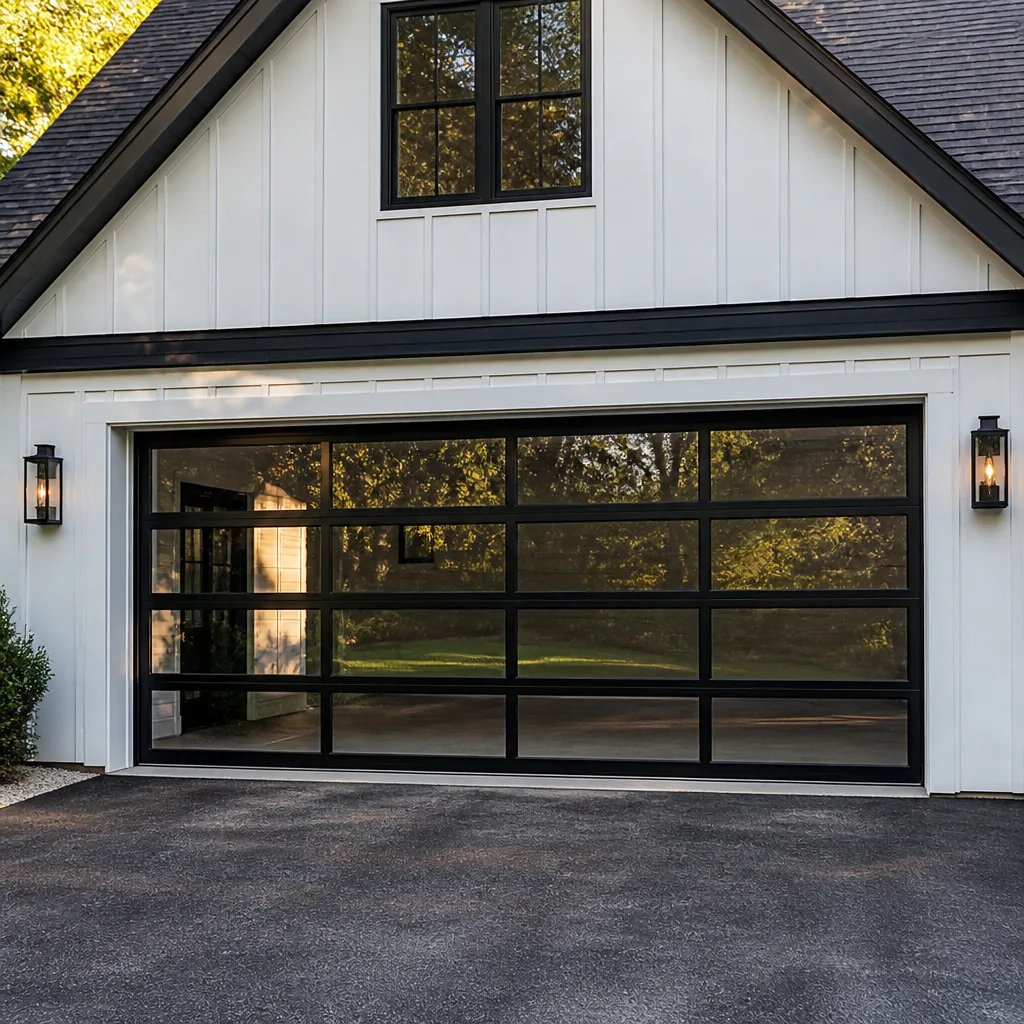 Full-view glass
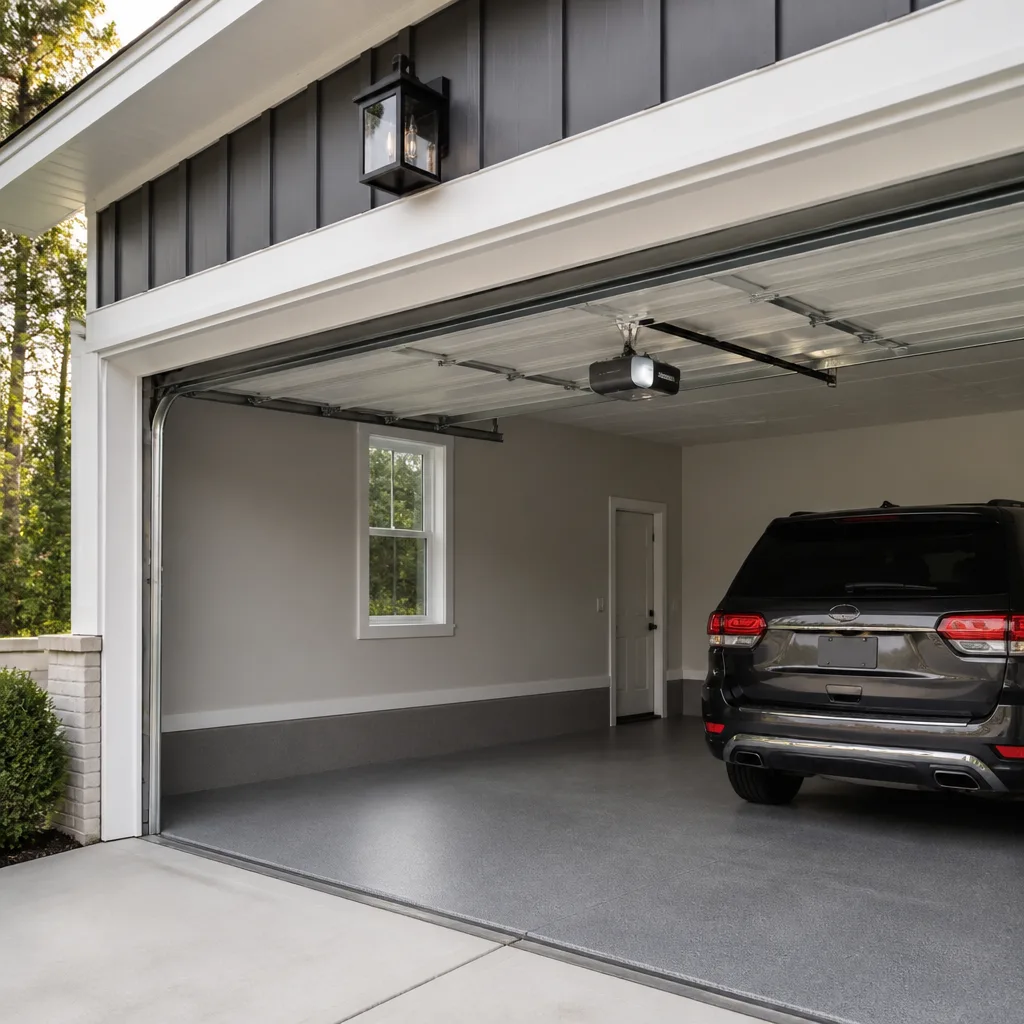 LiftMaster openers
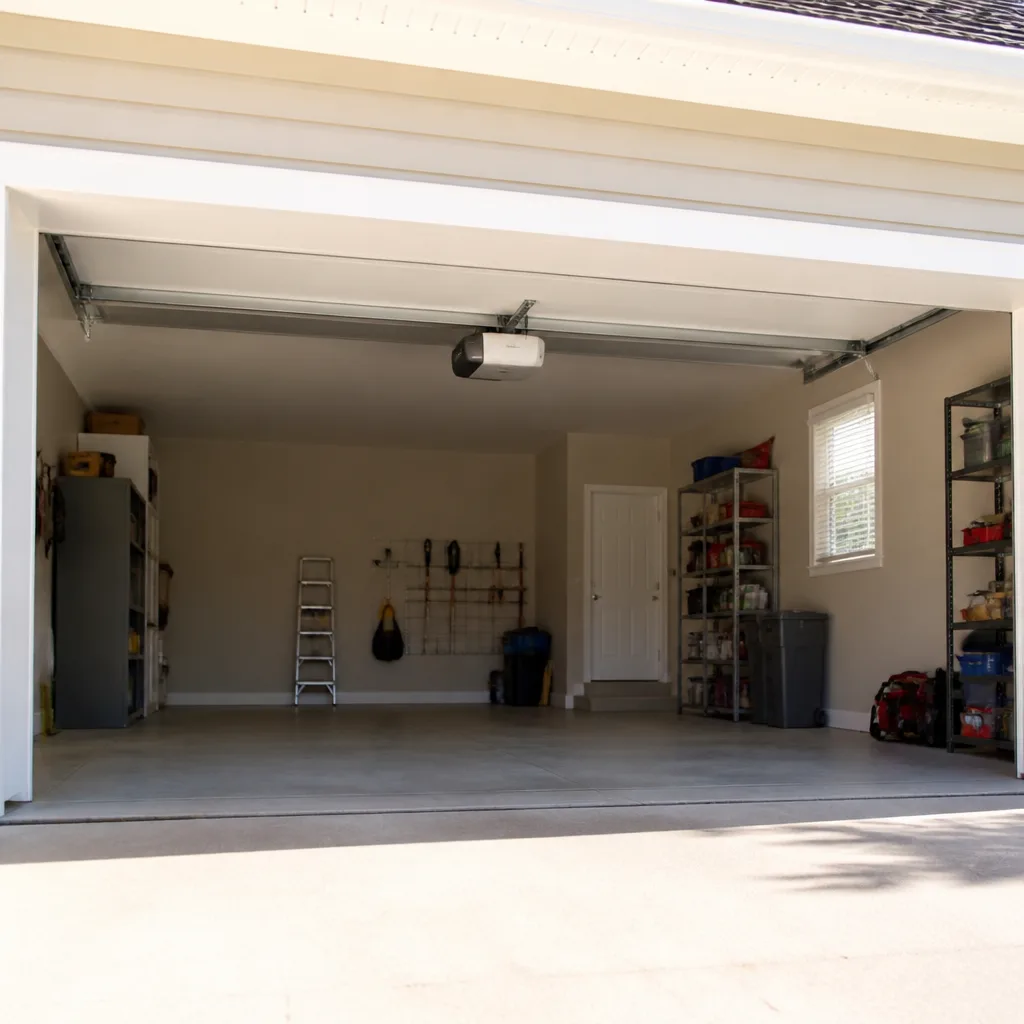 Chamberlain openers
Full 25-point door and opener safety check with every visit - springs, cables, rollers, tracks, and your LiftMaster or Chamberlain opener included
You get a price before we start. It does not change when the pro arrives.
Get your free estimateGarage Door Repair Maintenance Checklist for Northland Homeowners
Most garage door maintenance advice starts and ends with “lubricate moving parts.” That single line causes real damage every year, because the wrong lubricant on the wrong component is worse than no lubricant at all. Spray WD-40 on a torsion spring and you strip away the protective coating that keeps it from rusting. The spring doesn’t thank you. It corrodes faster. A useful checklist tells you what to look at, what a passing result looks like, what a failing result means, and why each task matters. This guide is built around the actual failure modes we get called about in Northland: snapped springs, frayed cables, opener gears that strip, rollers that flat-spot. You’ll learn the exact checks, the lubricants that belong on each part, and how often to run each step.
Quick Answer
A garage door maintenance checklist should cover four zones: the door and panels, the moving hardware (hinges, rollers, tracks), the lifting system (springs, cables, drums), and the opener. Run a visual and physical check monthly, lubricate the moving hardware twice a year, and schedule a mechanical inspection of springs, cables, and balance annually. Never touch the torsion spring or the cables under tension yourself: those are the two components most responsible for serious garage door injuries, and a trained technician should handle both. The checklist below explains what to look for at each step and what result tells you it’s time to call.
Styles & brands we work with
- Raised-panel steel
- Carriage house
- Modern flush
- Full-view glass
- LiftMaster openers
- Chamberlain openers
Table of Contents
- The Monthly Walk-Around: What to Look For
- Lubrication by Component: What Goes Where, and What Never Does
- The Balance Test: How to Do It Safely and What It Tells You
- Springs and Cables: The Visual Signs That Mean Replace, Not Repair
- Opener Diagnostics for LiftMaster and Chamberlain Owners
- The Northland Seasonal Calendar: What Fails When
- Monthly, Biannual, or Annual: The Right Cadence for Each Task
- The Safety Lines You Don’t Cross
The Monthly Walk-Around: What to Look For
The best time to catch a garage door problem is a month before it becomes a service call. A monthly walk-around, done while the door is closed, takes about four minutes and gives you a clear picture of the door’s overall health. Do it with the opener disengaged if you can, or just with the door down and the power off. You’re looking, not fixing.
Door and Panels
- Panels: Run your hand along the seams between panels and confirm they’re flush. A panel that’s out of alignment usually means a hinge has bent or a roller has popped out of its track. Pass: panels sit flush and the door looks like one solid unit.
- Bottom seal: Check that the rubber or vinyl astragal along the bottom rests evenly on the floor with no visible gaps. Pass: seal touches the floor all the way across. Fail: daylight showing under the door points to a seal that’s dried out or a door that’s sitting too high.
- Hinges: Look at the metal hinges at each panel joint. Rust streaking down from a hinge is normal wear. A hinge plate that’s cracked, or a screw that’s walked out of the wood, is not. Pass: hinges are tight and intact. Fail: any hinge that’s bent or missing a fastener.
- Weatherstripping: The side and top seals shrink and split with age. Pass: the strip flexes when you press it. Fail: it’s stiff, cracked, or pulling away from the jamb.
Travel and Alignment
With the door closed, look at the vertical tracks on both sides. The door should sit centered, with roughly equal gap on both sides. If the door is noticeably closer to one jamb, the door is out of alignment, and month after month of running it that way wears rollers and hinges faster. That’s one of the most common reasons we see premature hardware failures in Northland garages.
What a “Fail” Actually Means
A failed check is not always a call-a-technician moment. A stiff weatherseal you can replace. A hinge you can tighten. But a door that’s out of alignment, a bent bottom section, or anything touching the springs and cables should bring a professional out. The cost of a diagnostic visit is almost always less than the cost of the damage a misaligned door will eventually do to the opener gear and tracks.
Lubrication by Component: What Goes Where, and What Never Does
Here’s the counterintuitive part: lubricating everything with the same product is one of the fastest ways to shorten the life of your door’s moving parts. Different components need different products, and a few components should never receive any lubricant at all. We see the results of this mistake regularly on calls across Northland.
What Goes on Each Component
- Torsion springs: A light film of a spring-rated lubricant or a dry PTFE-based spray. Nothing else. Never WD-40, never grease, never silicone spray. The goal is a thin film that resists rust without trapping grit. If your spring is already rusty, that’s a call to a technician, not a reason to spray it.
- Hinges: A white lithium grease or a garage-door-specific spray lubricant. A small shot at each hinge knuckle every two to three months. Don’t spray the whole hinge plate; the pin is what needs the lubricant.
- Nylon rollers: Nothing. Nylon rollers are self-lubricating by design. Adding lubricant attracts dust and grit, which then acts like sandpaper inside the track.
- Steel rollers: A light machine oil or a proper roller lubricant, applied at the bearing. Wipe off any excess. Steel rollers with sealed bearings don’t need oil at all.
- Tracks: A very thin film of a non-silicone garage-door lubricant on the inside vertical section. Never grease. Grease in the track catches dirt and hardens into a paste that will cause the door to judder.
What You Should Never Lubricate
- Springs with WD-40: WD-40 is a penetrating solvent, not a long-term lubricant. On a spring it removes the factory coating and leaves bare metal exposed to the moisture that builds up in an unheated garage.
- Cables: Any lubricant on a cable makes the cable harder to inspect. You can’t see the fray that matters if the cable is greasy.
- The opener rail track: The steel rail that the opener runs on is meant to be dry. Grease on the rail collects dust.
- The photo-eye lenses: No cleaner that leaves a film. Wipe with a dry or slightly damp lint-free cloth.
- Silicone on springs: Some silicone sprays are sold as “garage door lubricant,” and they’re fine on hinges and nylon bushings, but on springs you want the specific dry-film or PTFE product recommended for the metal. Ask before you spray.
When in the Year to Do It
Twice a year is enough for lubrication: once in spring when the humidity climbs, once in fall before the cold sets in. In Northland’s climate, the spring cycle matters because the change from cold, dry air to warm humidity is when bare metal starts to corrode. The fall cycle matters because cold weather stiffens the lubricant you already applied, so a fresh thin coat keeps everything moving smoothly through the coldest weeks.
A Note on Products and Brands
We don’t carry a storefront, but we do supply garage door parts directly, including the specific lubricants, rollers, and hardware that belong on the major brands. If you own a Clopay door or a Chamberlain opener, we can tell you what hardware was designed for that system and what to use on it. That’s one of the few things that’s actually easier through a specialist than through a home improvement aisle.
The Balance Test: How to Do It Safely and What It Tells You
The balance test is the single most useful diagnostic a homeowner can run, and it’s also the one that gets skipped most often because people aren’t sure it’s safe. Done correctly, it is: it takes about two minutes and involves no tools.
How the Balance Test Works
Every garage door is balanced by the torsion spring (or extension springs on some older doors). The spring holds the door’s weight so that a person can lift it with one hand and the opener only has to nudge it. When the spring starts to weaken, that balance shifts, and the opener quietly takes on more and more of the door’s weight. Eventually the opener fails, or the spring snaps, and the door comes down hard.
Step-by-Step
- Close the door and pull the manual release cord so the door disconnects from the opener.
- Lift the door to about waist height, straight up, by the bottom edge. Don’t yank, don’t jerk. Just lift.
- Let go. The door should stay roughly where you left it, or drift very slowly.
- Lift the door to shoulder height and repeat. Same result: stays put, or drifts slowly.
- Push the door to the fully open position and confirm it holds there without dropping.
What the Results Mean
- Stays within a few inches of where you left it at every height: The door is balanced. The spring is doing its job. Good news.
- Drifts down from waist height: The spring has lost tension. This may mean an adjustment, or it may mean the spring is on its way out. Have it inspected before the opener fails.
- Falls hard from shoulder height or higher: The door is dangerously out of balance. Do not run the opener. Call for inspection immediately.
- Door won’t stay up at all when pushed to open: Same as above. Stop using the door.
Why This Test Matters in Northland
Northland garages take the full swing of a Midwest climate: hot humid summers, cold dry winters, and a freeze-thaw cycle that works the metal over time. Springs weaken gradually in that environment. A door that passed the balance test in June may fail it in January, which is why we recommend running this test monthly and, if you own a heavier Clopay or Amarr door, paying particular attention to any change in how it feels when you lift it.
What the Test Does Not Tell You
The balance test tells you about the spring’s overall tension. It does not tell you whether the spring is cracked. Only a visual inspection, done from the ground with the door closed, shows the crack. It also doesn’t test the cables. Those need a separate visual check, which is the next section.
Springs and Cables: The Visual Signs That Mean Replace, Not Repair
Springs and cables are the two components where “catching it early” really does save money. Both fail without warning when you ignore the visible signs, and both are part of any honest garage door repair conversation. Here’s what to look at, from the ground, with the door closed and the opener disengaged.
Springs: The Visual Check
- The coil itself. A torsion spring is a single coiled bar on a shaft above the door. Run your eye along it. Any visible gap, or a section of coil that looks slightly wider than the rest, is a crack forming. A snapped spring has an obvious gap, and the door won’t lift.
- Rust. Surface rust is normal. Deep pitting and flaking are not. A badly rusted spring is closer to failure than a smooth one, and the spring is the wrong place to gamble.
- The color code. Torsion springs are color-coded on the winding cone. The color tells a technician the spring’s wire size and inside diameter. If the color has faded or come off, note it. It matters when the spring needs replacing.
- Grease staining. A spring with damp patches of grease, or one that’s wet to the touch in dry weather, may be losing temper. Have it looked at.
Cables: The Visual Check That Matters Most
Cables run from the bottom corners of the door up to the drums at the top of the tracks. They are under extreme tension every second the door is in any position other than fully closed. Inspect them from the ground.
- Fraying. A cable is seven strands of wire wrapped together. If you can see individual strands standing away from the bundle at any point, the cable is compromised and should be replaced before it snaps.
- Kinks and birdcaging. A kink is a sharp bend in the cable. Birdcaging is when the strands separate and bulge out like a birdcage. Both mean the cable has been overstressed. Neither is fixable.
- Rust streaks. A rusted cable loses strength steadily. If you see rust staining down the cable’s length, plan for replacement.
- Drums. The drum is the grooved metal wheel at the top of the track where the cable winds. Check that the cable is sitting neatly in the grooves. A cable that’s jumped its groove, or a drum with a chipped flange, is a sign the door needs to come off its tracks and a trained technician needs to reset it.
Why This Is Not a Homeowner Job
Springs and cables store enormous mechanical energy. A torsion spring under normal tension is powerful enough to cause serious injury if it releases unexpectedly, and cables under tension can whip with enough force to break bones. Even an experienced homeowner shouldn’t touch them. The check above is safe from the ground with the door closed. Any action that requires unwinding, adjusting, or removing a spring or cable is a technician’s job. This is the fastest section of any checklist to skip, and it’s the one where we see the most consequential avoidable damage.
When Replacement Makes More Sense Than Repair
Springs are replaced, not repaired, when they’re cracked, deeply pitted, or lost more than a small fraction of their tension. Cables are replaced, not repaired, at any sign of fraying, kinking, or drum damage. If the door has both a weak spring and a frayed cable, both should be replaced together. That’s not an upsell: running a new spring against a compromised cable simply stresses the cable faster and shortens its life.
Opener Diagnostics for LiftMaster and Chamberlain Owners
Most Northland garages have one of the major opener brands, and the diagnostics are similar enough to cover together. LiftMaster and Chamberlain openers in particular have a common set of failure modes that a homeowner can look for without disassembling anything. We service all eight of the major brands, but these two come up most often in Northland.
The Monthly Opener Check
- Wall control and remotes. Press the wall control and confirm the opener responds. Then press each remote. If a remote has gone dead but the wall control still works, it’s usually the remote’s battery or the limit switch programming, not the opener.
- Travel limits. Watch the door rise and close. It should stop at the same points every time. If the door stops short or reverses partway, the limit switch needs adjustment, or the safety reverse system has tripped.
- Safety reverse test. With the door on the way down, wave your foot in front of the photo-eye sensors. The door should reverse on contact. If it doesn’t, the opener’s safety circuit needs attention. This test should be run monthly. A door that doesn’t reverse is a real hazard to kids and pets.
- Force settings. Ease of movement matters. Lift the door manually. If it takes effort, the opener is working harder than it should, and the force setting may be masking a balance problem.
- Noise. A rattle from the opener unit during travel is usually a loose chain or a worn drive gear. A clicking that repeats in the same spot on the rail is usually a chain with a stiff link. A Genie opener with a screw drive will have a different sound profile, but the principle is the same: any new noise is worth investigating.
Chain versus Belt
Chain-drive openers (common on older Chamberlain and Craftsman units) are louder but durable. Belt-drive openers (common on newer LiftMaster units) are quieter and often preferred on garages beneath a bedroom. Belt tension is one of the few things on an opener that can be checked visually: the belt should feel taut with very little give. Don’t over-tighten. That’s a job for garage door opener repair, and it’s an adjustment, not a repair.
The Photo-Eye System
Two small sensors at the bottom corners of the door, one on each side. Wipe the lenses every month with a dry cloth, verify the small indicator light on each is on, and confirm nothing is blocking the invisible beam between them. The most common reason a door “won’t close” is not the opener failing. It’s a spider web, a cobweb, a leaf, or a bicycle in the path of the beam. Verify the eyes first before you call.
When the Opener Is Fine but the Door Is Not
Plenty of “my opener is broken” calls aren’t about the opener at all. If the door reverses, stalls, or struggles to lift, the opener may be working exactly as designed while the door is out of balance, a roller has seized, or a spring has weakened. Disengage the door and try lifting it by hand. If it’s heavy, the problem is the door, not the opener. This is the part that a generalist contractor can’t easily sort out. It’s the kind of diagnosis a garage door specialist makes before even opening a toolbox.
The Northland Seasonal Calendar: What Fails When
A maintenance checklist built for a temperate climate will not tell you what actually goes wrong in a Northland garage. The Midwest cycle – hot humid summers, cold dry winters, and a running battle with freeze-thaw in the spring – works the door’s components in ways that a general checklist misses.
Spring
The freeze-thaw cycle is the enemy of rigid metal and the rubber seals. Bottom seals that were sound in fall may show cracking by April. Springs that survived the winter are usually fine, but if a spring was weakened over the winter, this is when it fails. Snowmelt pooling under the door is also a common cause of premature bottom-section rust and a corroded bottom seal. Run the balance test and inspect the bottom section in early spring.
Summer
Humidity is the dominant factor. Bare metal starts to corrode faster than in the dry months. This is the cycle to apply the spring-rated lubricant film and to wipe down the tracks. Any wood door or wood-composite section is more vulnerable to moisture in summer, so check the paint barrier on the door itself. A Clopay or Amarr steel door is less of a worry here; a wood or composite door needs inspection.
Fall
The last warm-weather window before cold. This is when you refresh lubrication on hinges and rollers and make sure tracks don’t have leaves or grit in the vertical sections. Any opener adjustments should happen now, not in January when the weather makes a service visit harder to schedule. Fall is also when we see a spike in opener gear failures, because doors that have been running smoothly against a weakening spring all summer finally stress the opener past its limit.
Winter
Cold stiffens rubber seals and thickens lubricant. A door that worked fine in October can feel sluggish by December. Cold-weather failures tend to be spring snaps (the metal is more brittle, and the tension is higher when the door is closed) and opener failures (the motor is working harder against a stiff door and a weak spring). If you have a Genie or a LiftMaster unit, watch for an opener that suddenly needs two attempts to close. That’s usually the balance issue, not the opener.
A Seasonal Pattern Worth Knowing
The single most common Northland failure mode is a spring that weakens slowly over a season and snaps at the worst possible moment. The seasonal calendar is really about running the checks at the transitions – early spring and early fall – so you catch that weakening before it becomes a snap. The balance test is the key. Run it at every transition.
Monthly, Biannual, or Annual: The Right Cadence for Each Task
Knowing what to inspect is half the battle. Knowing how often to do it is the other half, and most checklists blur the lines badly. Some tasks are pointless monthly, and some need attention more often than homeowners think. Here’s the split by cadence.
Monthly
- Balance test (the hand-lift test above).
- Safety reverse test with the photo-eye system.
- Visual glance at springs and cables from the ground.
- Wipe down the photo-eye lenses.
- Close the door and check the bottom seal for daylight.
- Listen for any new noise when the door travels.
Twice a Year (Spring and Fall)
- Lubricate hinges with a white lithium grease.
- Lubricate steel rollers at the bearing with a light machine oil.
- Apply a spring-rated lubricant film to the spring.
- Wipe the vertical tracks with a very thin film of garage-door-specific lubricant.
- Inspect the weatherstripping for cracking or shrinkage; replace as needed.
- Check all visible fasteners on hinges and brackets; tighten any that have worked loose.
- Inspect the opener’s chain or belt for tension and wear.
Annually
- Full mechanical inspection of springs, cables, drums, and tracks by a trained technician.
- Have the door’s balance and travel limits checked against the opener.
- Verify hinges and bearings against wear; replace any that are showing flat spots or play.
- Opener firmware or programming check if your unit supports it (common on LiftMaster and Chamberlain models).
- Paint and finish inspection on wood or composite doors; touch up any bare spots before winter.
- Full inspection of the bottom section for rust and panel deformation.
After Any Storm, Accident, or Impact
An impact from a vehicle, a fallen branch, or even a hard door-close during a power reset can bend a panel or pop a roller out of its track. Run the monthly check right after any impact, even if the door looks fine. Panel deformation is the thing most often missed, and it’s the thing that leads to misalignment, premature roller wear, and eventually a door that needs garage door installation of a new section. Hail is uncommon in Northland, but storm-driven branches and wind are not; panels are the most vulnerable component when the wind gets serious.
What the Annual Inspection Should Cover
An annual professional inspection is not the same as a homeowner’s checklist. It’s a look at the components that require tools and eyes on the spring tension, the cable windings, the drum alignment, and the opener’s force settings against a measured balance. In our experience, an annual inspection is the single most cost-effective way to keep a Northland door out of the emergency call category. It also gives you a record of what was checked and when, which is useful if you ever sell the house.
The Safety Lines You Don’t Cross
Every garage door repair specialist has a set of tasks that should never be done by a homeowner, no matter how handy they consider themselves. Here’s our list, and we mean it.
Never Touch
- The torsion spring or extension springs. These hold the door’s entire weight. Loosening the wrong set screw or unwinding a winding cone without the right winding bars and a way to control the torque is how serious injuries happen. There is no safe way to “just check” a spring’s tension by taking it apart.
- Cables. Cables are under tension whenever the door is up, and the drums hold that tension through the winding. Any adjustment requires the door to be in a controlled position and the cables secured. Homeowners should not do this.
- Tracks that need to be re-bowed or bent back into shape. Sometimes a door has been knocked off its tracks and needs to come apart and go back together. This is a technician job, not a pry-bar job.
- The opener’s force adjustment. Increasing the force setting is a common DIY fix for a door that won’t close, and it’s exactly the wrong answer. If the force setting needs to go up, the door is telling you something is wrong elsewhere.
Safe for a Homeowner
- Visual inspection from the ground with the door closed.
- Wiping lenses, wiping tracks, applying lubricant to hinges and rollers.
- Running the balance test with the door disengaged.
- Running the safety-reverse test.
- Replacing a battery in a remote.
- Tightening a loose hinge screw (with the door closed and disengaged).
The First Rule of Any Weird Noise
If the door starts making a new noise, stop using it. A grinding noise, a snapping noise, or a door that shudders on the way up or down is a warning that a component is failing. Running the opener is what turns a small failure into a large one. Disengage the door, leave it, and get an inspection. The one time to be cautious is the time when being cautious actually matters.
Common Mistakes to Avoid
- Using WD-40 on the torsion spring. WD-40 is a solvent, not a long-term lubricant. It strips the spring’s protective coating and leaves the metal more exposed. Use a spring-rated dry film or PTFE-based product.
- Greasing the tracks. Grease in the track becomes a magnet for grit and dust and eventually a paste that causes the door to judder and wear the rollers. The tracks need a thin film of a garage-door-specific non-silicone lubricant, not grease.
- Increasing the opener’s force setting to fix a stiff door. The force setting is a safety limit, not a performance knob. If the door won’t close without more force, the problem is upstream: a balance issue or a worn roller.
- Skipping the safety reverse test. This is the check most often ignored because the sensor eyes look fine. The test with your foot in the beam is the only way to confirm the reverse actually engages.
- Running a door with a visibly frayed cable. A cable with individual strands standing off the bundle is on borrowed time. The spring that’s still working doesn’t help if the cable lets go.
- Lubricating nylon rollers. Nylon rollers are designed to run dry. Adding lubricant attracts dust and grit that acts like sandpaper inside the track, and the rollers wear faster than they would have.
- Ignoring a panel that’s out of line. Misalignment is the start of a chain that runs through roller wear, track wear, and opener stress. It’s cheap to correct early. Expensive to correct late.
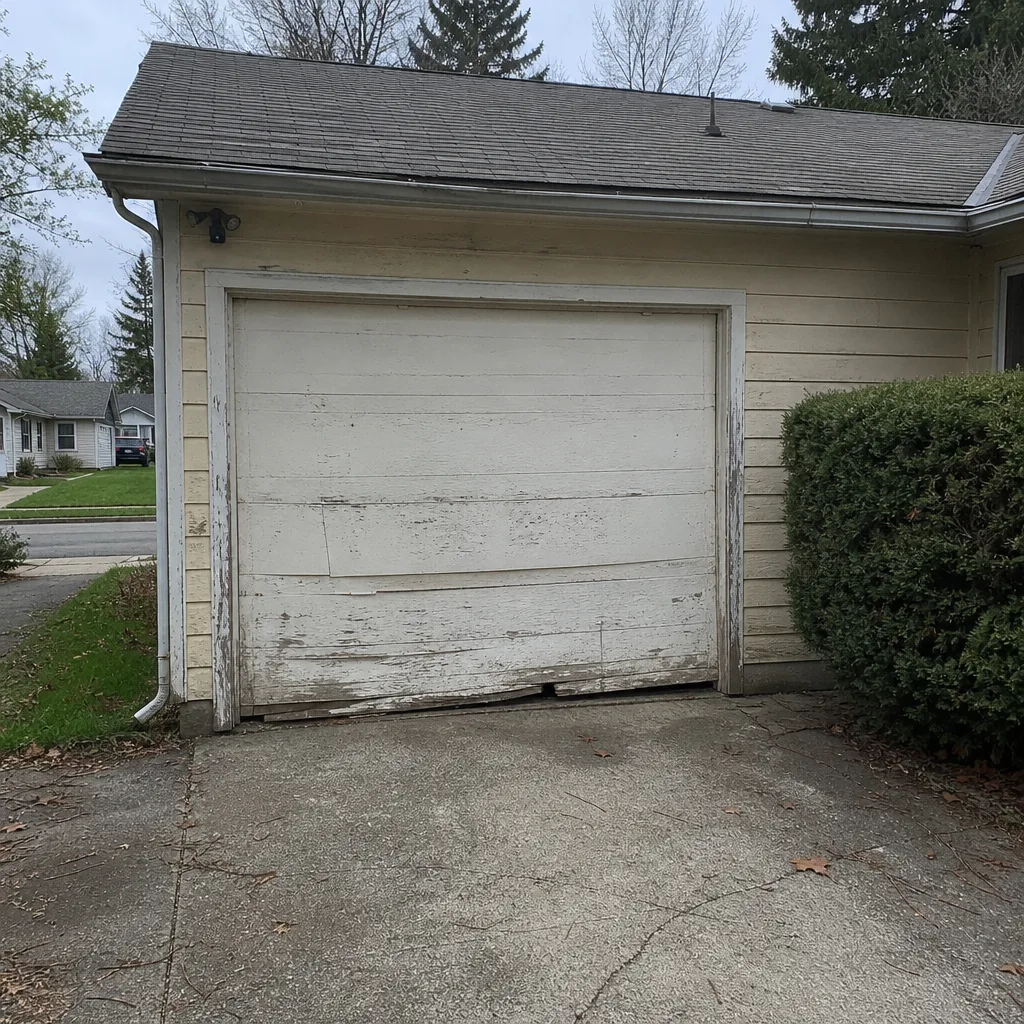
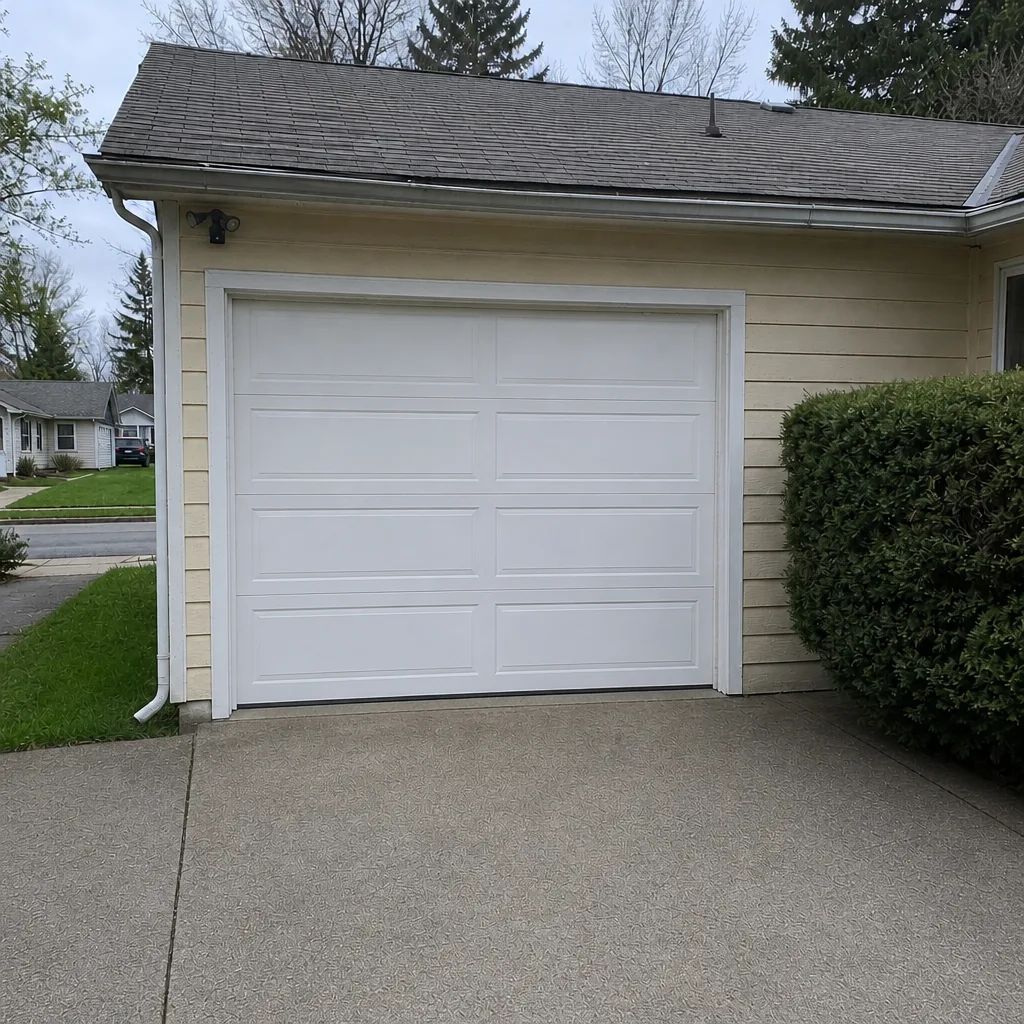
See the difference
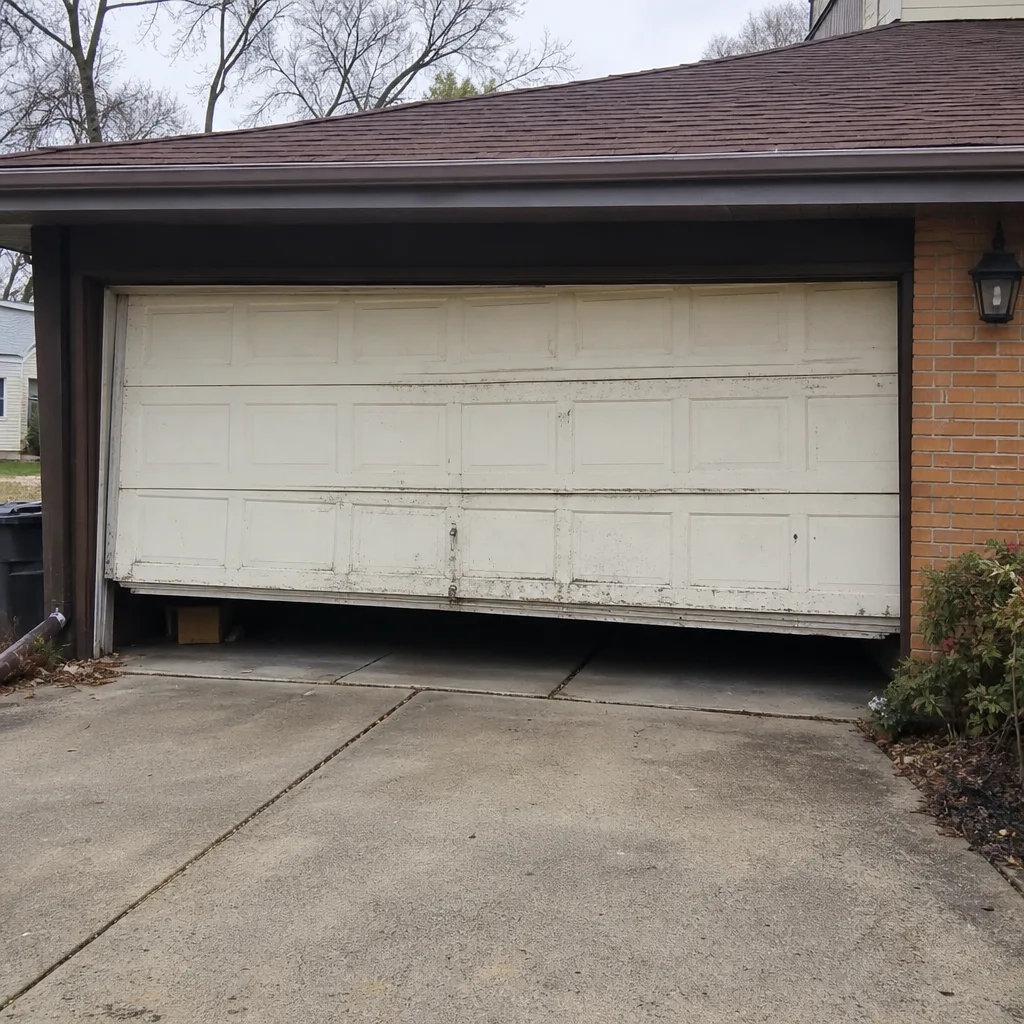 Before
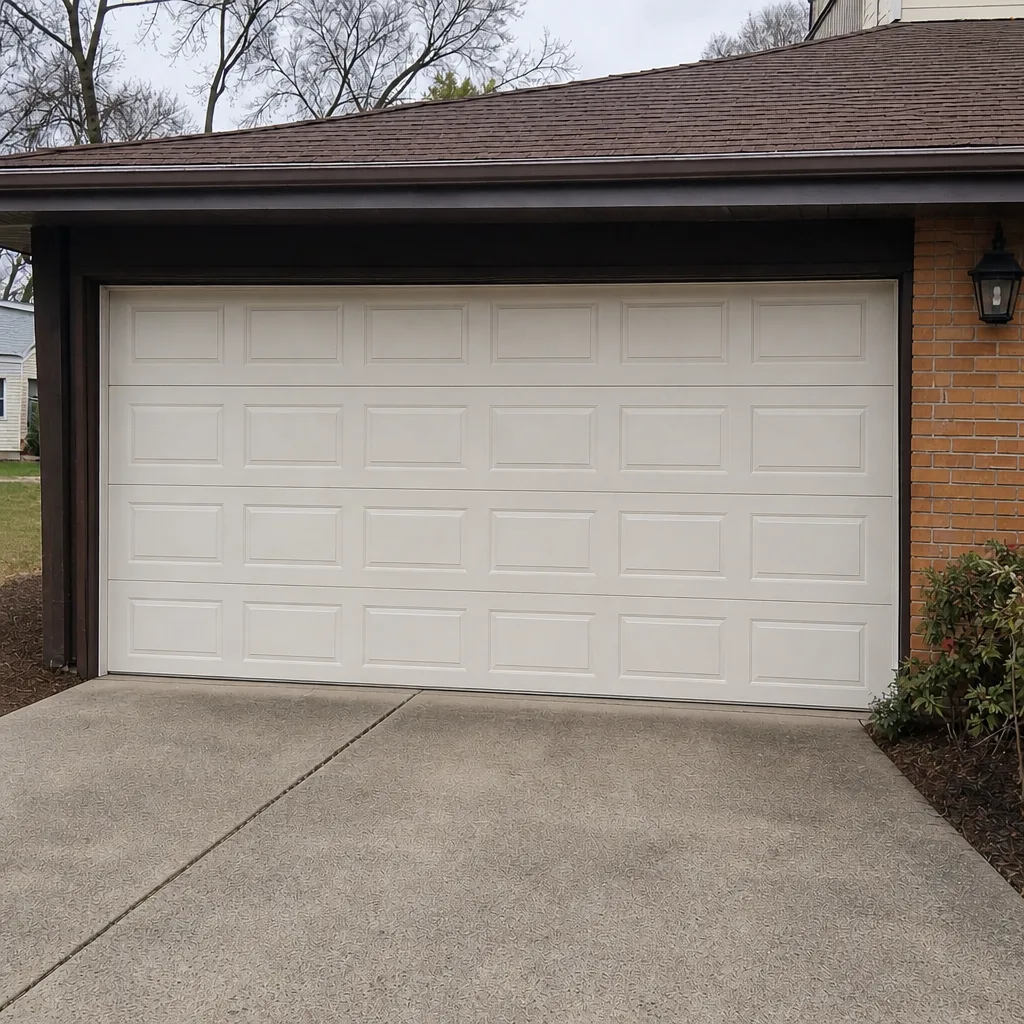 After
 Before
 After
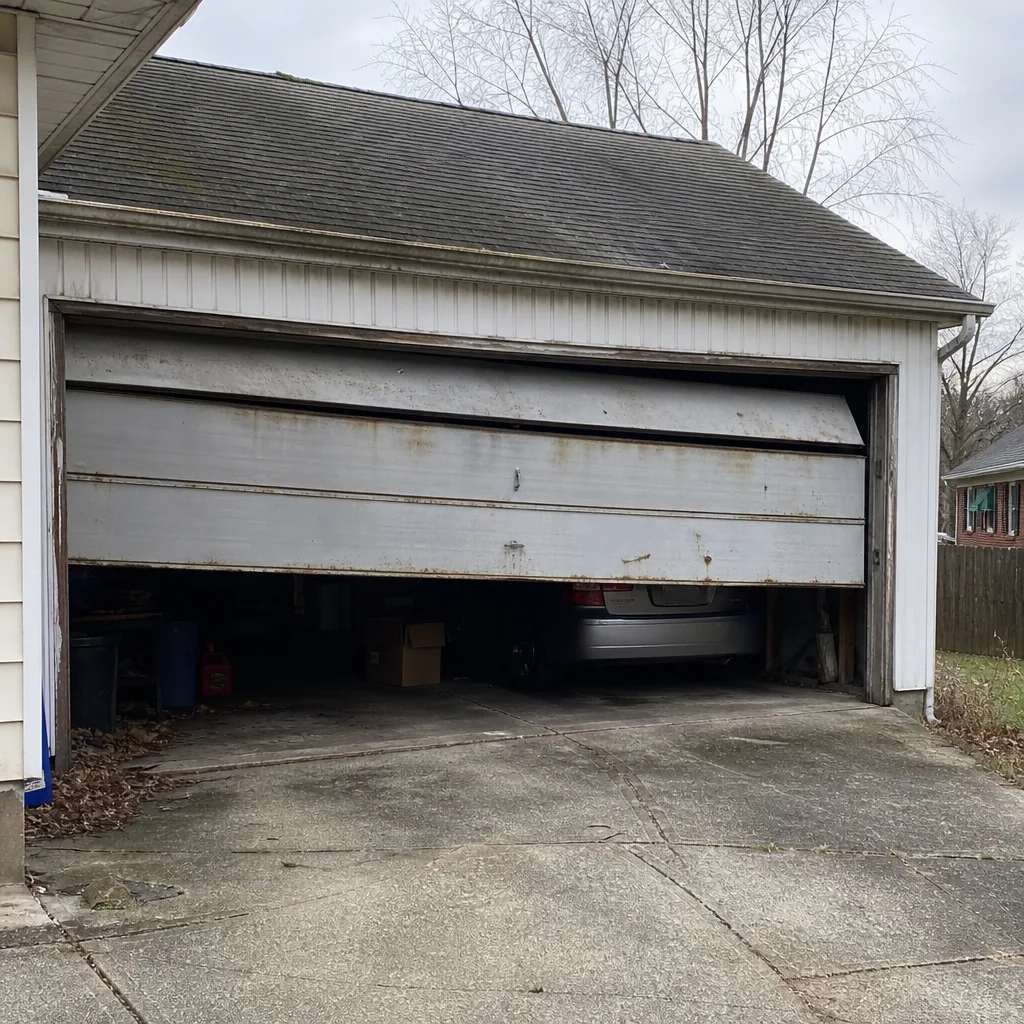 Before
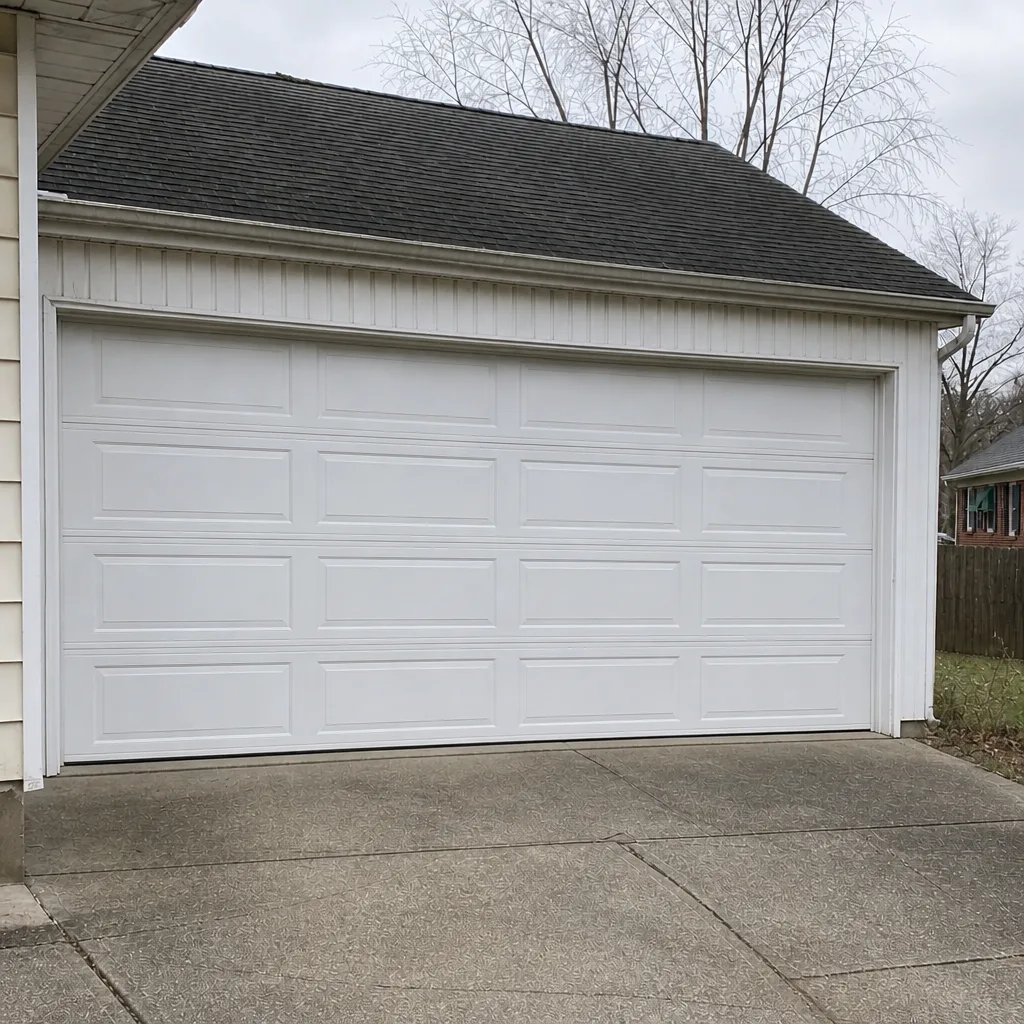 After
When to Call a Professional
Some jobs are homeowner checks. A handful are not, and the checklist above is designed to help you draw that line. Call a technician when you find a spring that’s cracked, pitted deeply, or has lost tension on the balance test. Call when a cable shows fraying, kinking, drum damage, or rust streaks. Call when the door won’t stay up when you lift it, when it hangs unevenly, or when a panel is visibly bent. Call when the opener reverses repeatedly, won’t close at all after checking the photo eyes, or when the door needs to come off its tracks. And call when you want an annual inspection to catch the things you can’t see from the ground.
Garage Door Repair Northland offers free estimates in Northland – call (866) 347-6067. We specialize in springs, cables, openers, panels, and full installations, and we work on the components you actually own: LiftMaster, Chamberlain, Genie, Clopay, and the rest of the eight major brands. Every technician is a garage door specialist, not a generalist who also does doors, and we carry the parts to complete most repairs on the first visit.
Frequently Asked Questions
Once a year is the right cadence for a professional mechanical inspection, with homeowner checks run monthly. Northland’s seasonal swings – humid summers and cold winters – make the annual inspection more important than in a temperate climate, because springs and cables wear at the transitions between seasons. An annual visit also catches the balance issues that wear out the opener before the opener fails.
You can apply a light spring-rated lubricant film from the ground with the door closed, but you should never adjust, unwind, or remove a spring. Lubrication is a spray from a can at a safe distance. Spring adjustment is a job for a technician because a torsion spring under tension is powerful enough to cause serious injury if it releases suddenly. If you’re not sure which product to use, ask before you spray.
Check the photo-eye sensors first. In most cases a door that opens but won’t close is being stopped by the safety reverse system: a spider web, a leaf, a child’s toy, or a bicycle blocking the invisible beam. Wipe both lenses, confirm the indicator lights on both sensors are on, and clear the path. If the door still won’t close, run the balance test with the door disengaged. A door that won’t close is often a sign the spring has weakened and the opener’s force limit is being reached.
The local professionals we connect you with are licensed and insured as their state requires. Our technicians have up to 8 years of experience and are trained on the eight major garage door and opener brands. We don’t do multi-trade work. Garage doors are the entire focus, and every technician is a specialist. Call (866) 347-6067 for a free estimate.
Three signs. First, a visible gap or widening in the coil, which is a cracked spring. Second, deep pitting or flaking rust on the spring’s surface. Third, a door that drifts down when you lift it to waist height, which means the spring has lost tension. Any of the three should get the door inspected before the spring snaps. A snapped spring means the door won’t lift at all and can be dangerous to operate, so catching the warning signs matters.
A handyman can tighten a hinge or replace a weatherseal. A specialist is the right call for anything involving springs, cables, opener adjustments, or a door that’s off its tracks. Those components have brand-specific hardware, and the diagnosis depends on knowing how LiftMaster, Chamberlain, Genie, and Clopay systems are built. Generalists frequently replace the wrong part because they can’t read the failure. Call (866) 347-6067 for an exact quote – estimates are free.
The Bottom Line
A maintenance checklist works when it tells you what to look at, what a passing result looks like, and what a failing result means. The monthly walk-around catches most problems early. The balance test catches a weakening spring before it snaps. The visual checks on springs and cables catch the failures that turn into emergency calls. Lubrication by component, not by spray-can, keeps the moving parts moving. Run the monthly checks, lubricate twice a year, and have the mechanical components inspected annually. If anything on the checklist fails, or you’re not sure what a result means, call Garage Door Repair Northland at (866) 347-6067. Estimates are free, and your ticket price is quoted and agreed before any work starts.
Written by the team at Garage Door Repair Northland.