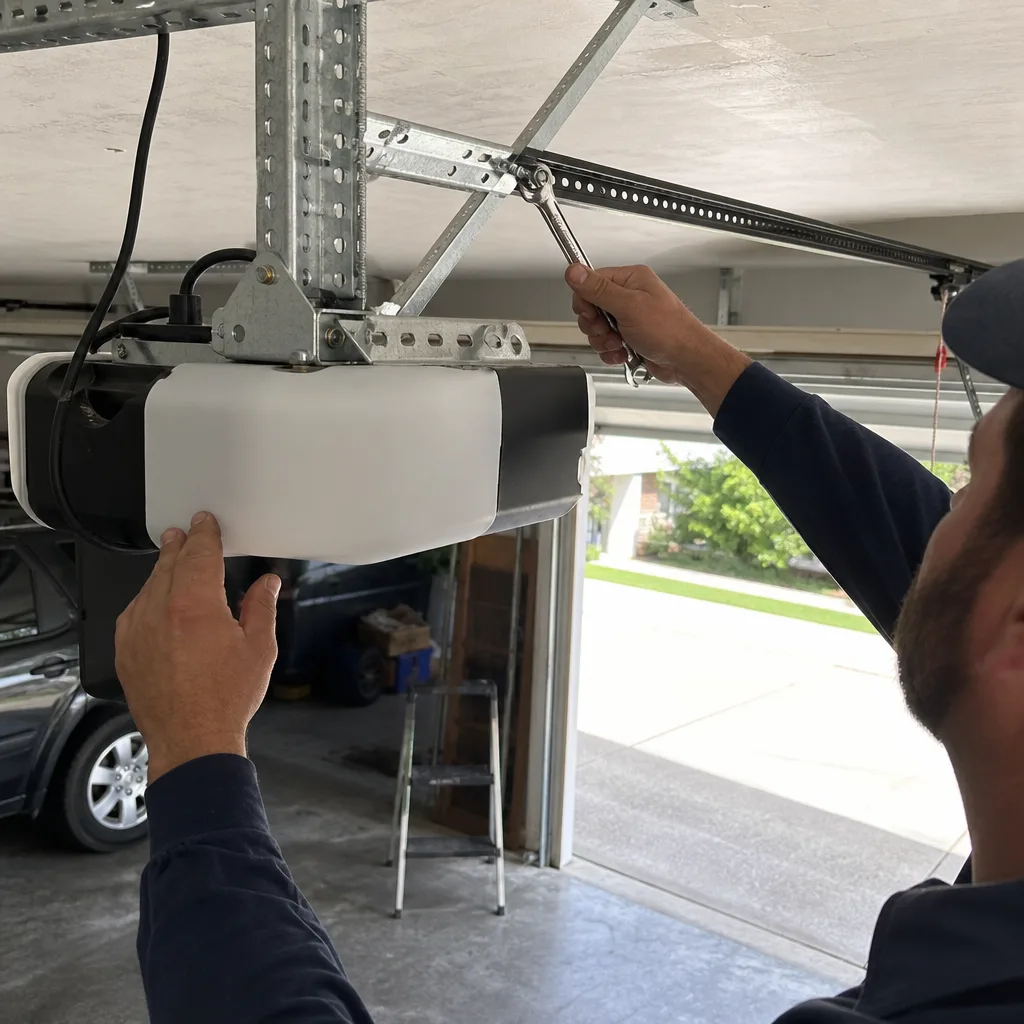
Last updated November 21, 2026
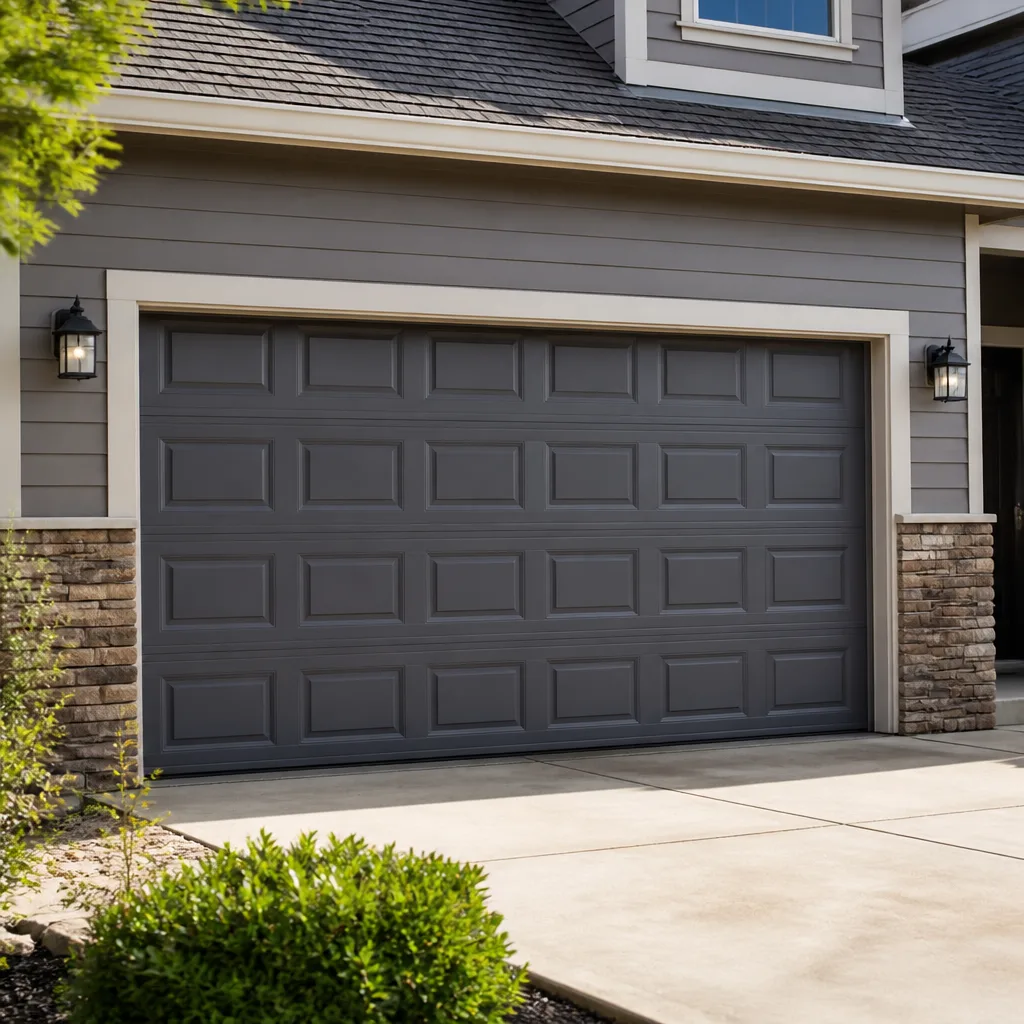 Raised-panel steel
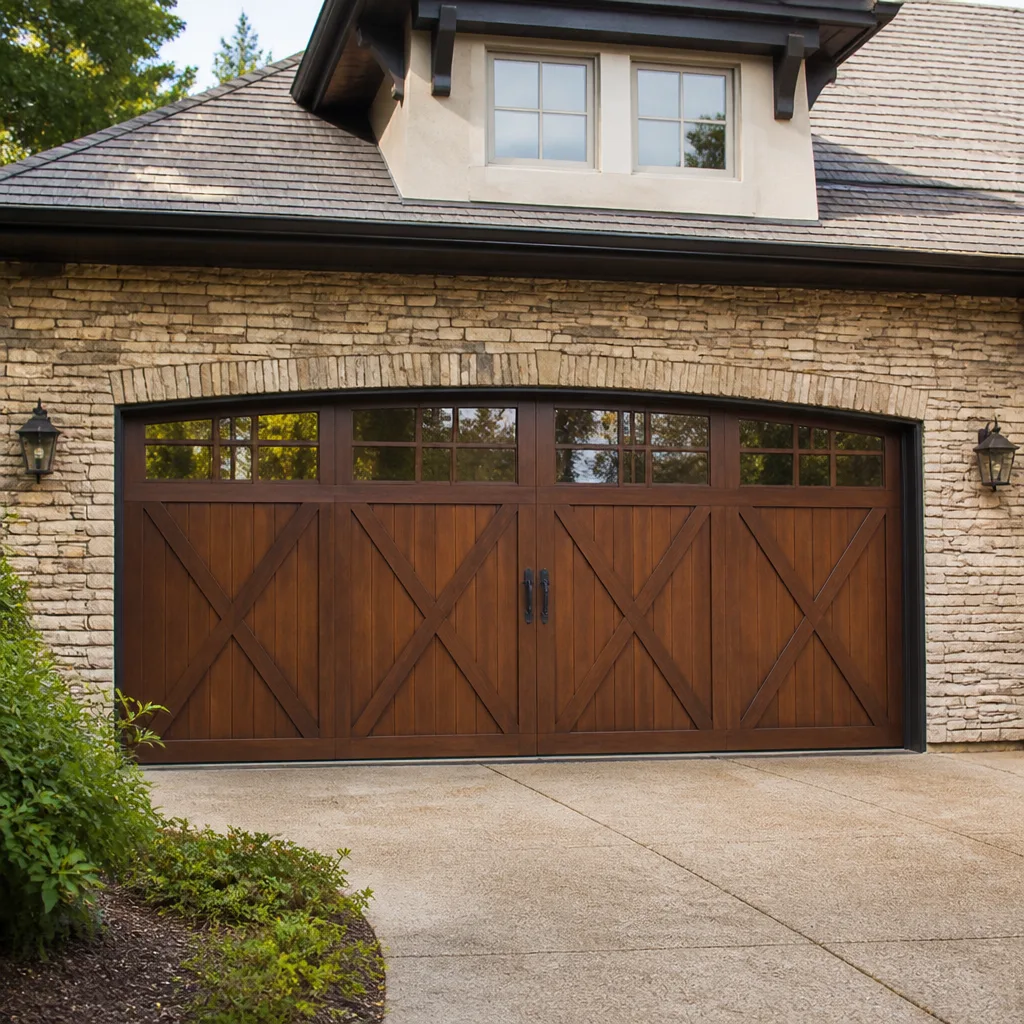 Carriage house
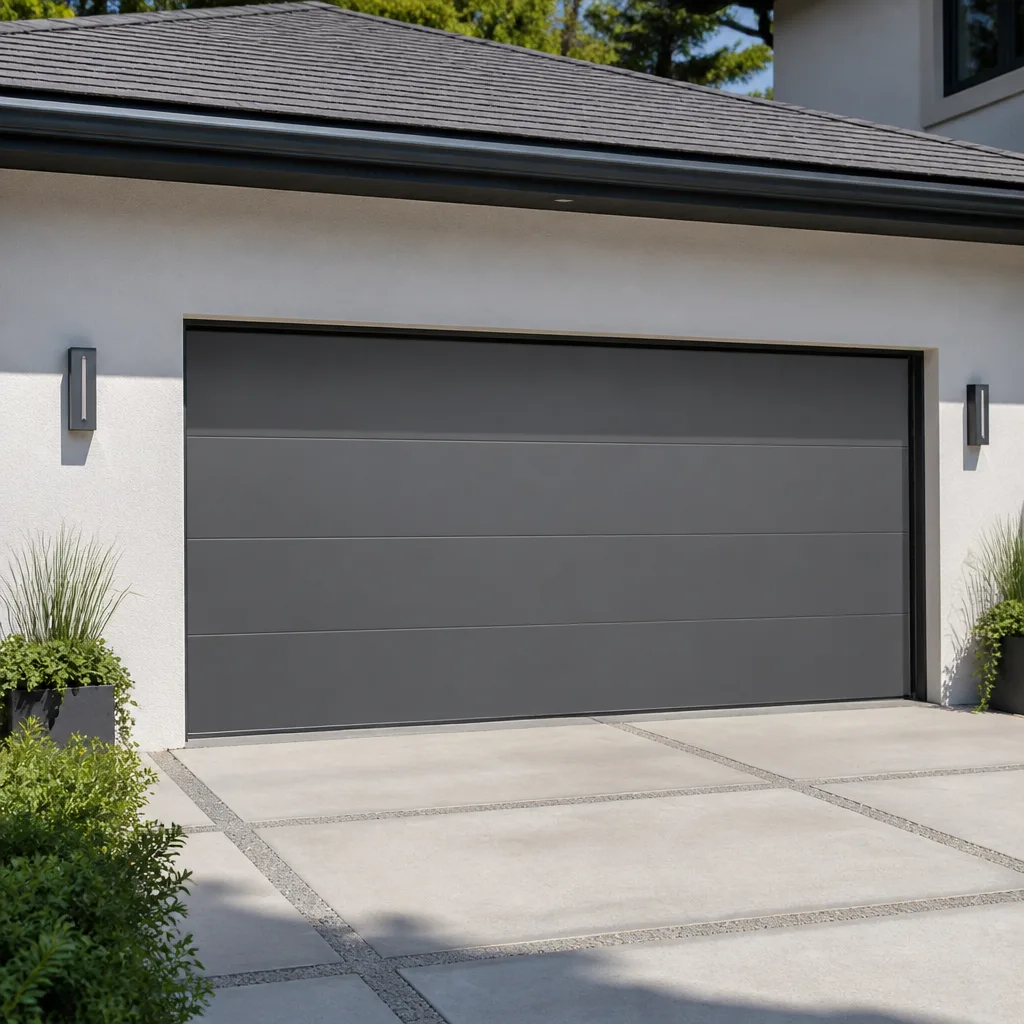 Modern flush
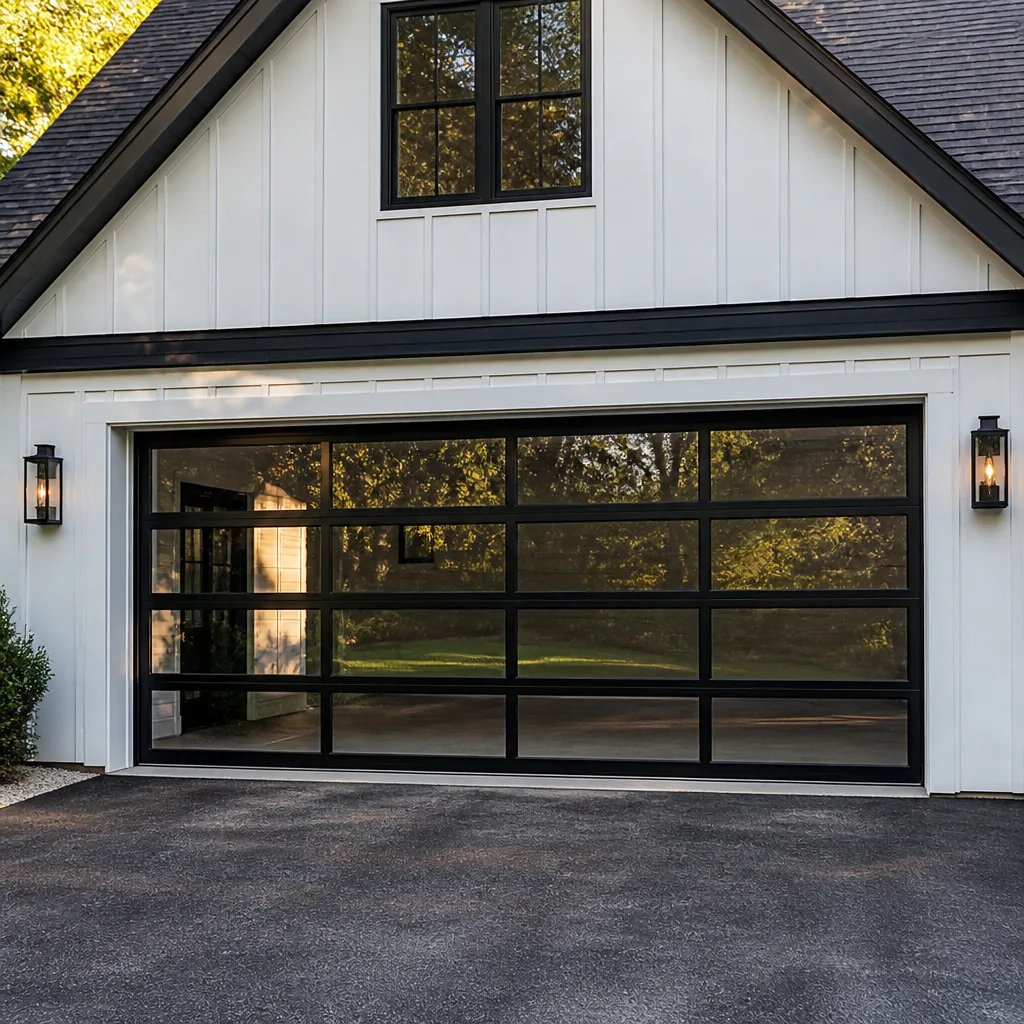 Full-view glass
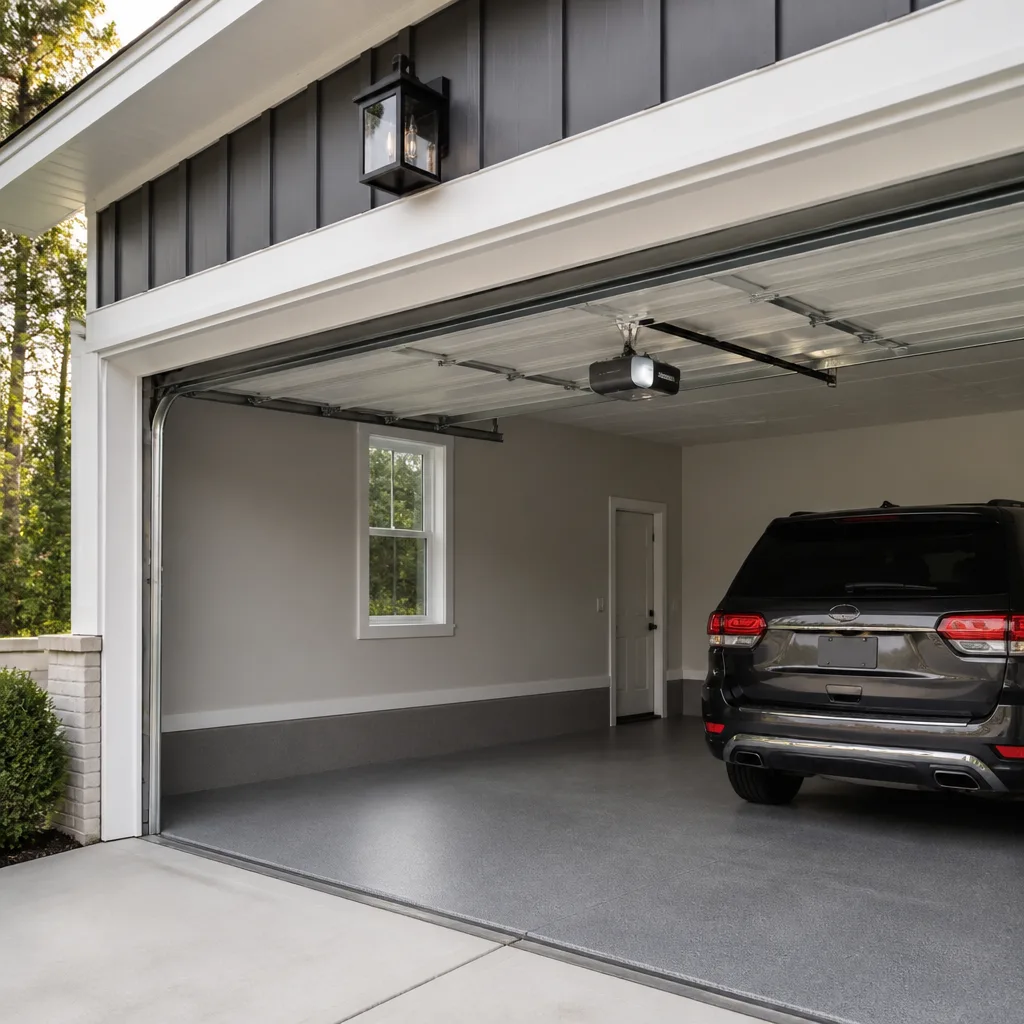 LiftMaster openers
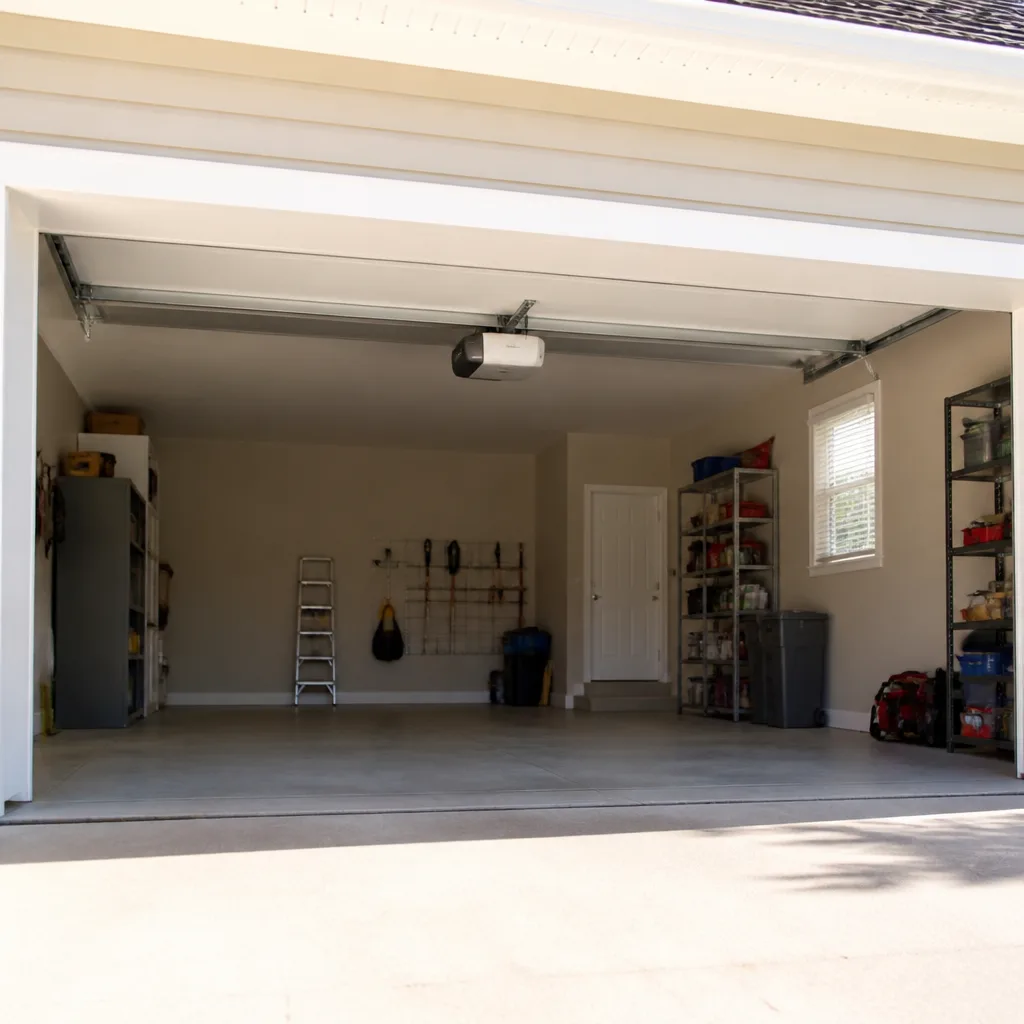 Chamberlain openers
Full 25-point door and opener safety check with every visit - springs, cables, rollers, tracks, and your LiftMaster or Chamberlain opener included
You get a price before we start. It does not change when the pro arrives.
Get your free estimateDIY vs Professional Garage Door: The Northland Homeowner’s Decision Guide
Replacing a bottom weatherseal is a legitimate twenty-minute DIY job with a putty knife and a pair of pliers. Adjusting a torsion spring is a task that puts a lot of people in the emergency room every year. Treating both of those as the same category of “garage door work” is the mistake most advice makes. The real question in Northland isn’t whether you’re handy enough. It’s whether the specific task you’re staring at carries stored mechanical energy that can hurt you faster than you can react. This guide draws a hard technical line down the middle of the garage door system: what’s genuinely homeowner-appropriate, what’s a judgment call, and what should never see a homeowner’s wrench. You’ll leave with a task-by-task map, an honest cost reckoning, and a short list of prep steps that make any professional visit faster.
Quick Answer
Most garage door maintenance is safe for a careful homeowner: lubricating rollers and hinges, replacing weatherseals, tightening brackets, and cleaning and testing safety sensors all fall squarely in DIY territory. Anything that involves torsion springs, extension springs, the cables that carry spring tension, or the counterbalance system as a whole is professional-only, full stop. Opener replacement, panel replacement on a damaged door, and full installations belong to a specialist too, because those jobs fail in ways that aren’t visible until the door is already moving.
Styles & brands we work with
- Raised-panel steel
- Carriage house
- Modern flush
- Full-view glass
- LiftMaster openers
- Chamberlain openers
Table of Contents
- The Task Breakdown: DIY-Safe vs DIY-with-Caution vs Professional-Only
- Why Torsion Springs Are the Line You Don’t Cross
- Cost-Honest Analysis: Where DIY Saves Money and Where It Doesn’t
- Tools and Parts Sourcing for Northland DIYers
- How to Do DIY Prep Work That Makes a Pro Visit Faster and Cheaper
- Brand Matters: Where the Hardware in Your Garage Came From
- The Safety Testing Routine Every Northland Homeowner Should Run
- Northland Seasonal Reality: What Each Season Asks of Your Door
The Task Breakdown: DIY-Safe vs DIY-with-Caution vs Professional-Only
The dividing line isn’t difficulty. Plenty of professional-only jobs are physically easy for ten seconds and catastrophic in the eleventh. The line is mechanical risk: whether the task involves stored energy, whether a mistake fails instantly or gradually, and whether the consequence of failure is a bent bracket or a broken arm. Here’s how the tasks sort out for a Northland homeowner working on a standard sectional door.
DIY-Safe
- Bottom weatherseal replacement. A straight pull-and-push job on most doors. Cut to length, slide into the retainer, done in twenty minutes.
- Lubrication. A quick pass on hinges, rollers, and the torsion shaft bearings with a proper garage door lubricant extends life more than any other maintenance task.
- Safety sensor cleaning and alignment. Wipe the lenses, check the LED indicators, nudge the brackets if the beam is blocked by a cobweb or a dropped tool.
- Bracket tightening. Loose hinge and roller brackets retighten with a socket set. Check the torque spec on your door’s manual rather than guessing.
- Opener light bulb and battery replacement. Straightforward on every major brand, and your manual spells it out.
- Track cleaning. A rag and a degreaser on the track’s interior removes the grime that causes roller drag.
DIY-with-Caution
- Roller replacement. Safe on a door that’s fully down with the opener disconnected, but only if you understand which rollers carry spring tension through the hinge and which don’t. Watch the gap and don’t touch a roller that’s under load from a bent track.
- Opener programming. Re-pairing a remote or clearing a keypad code is easy with the manual in front of you, but the wrong menu on a Genie or a Chamberlain get scrambled fast. Read once, then act once.
- Dented panel straightening. Small dents sometimes push out with a suction cup. Bigger ones deform the panel’s structural ribs and can leave a weak spot a pro would replace.
- Weather stripping around the frame. Safe when it’s the stop molding the door shuts against, not the seal mounted on the door itself if that seal sits on a panel with tension in it.
Professional-Only
- Torsion spring replacement or adjustment. The single most dangerous task in the entire system. Non-negotiable.
- Extension spring replacement. Lower tension than torsion, but a failed extension spring snaps with enough force to break a window or a jaw.
- Cable replacement or drum adjustment. Cables carry the spring’s full energy load. A slipping cable can whip through a garage in a fraction of a second.
- Opener replacement or wiring. Electrical work plus alignment plus force calibration on a moving door.
- Full-door installation. Track plumbing, spring winding, panel alignment, opener sizing, and safety calibration all on one job.
- Panel replacement after impact. Panels are load-bearing. Swapping one without resetting the door’s balance is a false repair.
- Track realignment after a strike. A bent track is a symptom. Straightening it without finding the cause leaves the door unstable.
Why Torsion Springs Are the Line You Don’t Cross
A torsion spring looks like a coil of steel rod about the thickness of a finger, mounted on a shaft above the door. What it is, functionally, is a controlled explosion held in check by two winding cones. The spring is wound under enough tension to counterbalance the full weight of the door. On a standard two-car door that’s somewhere in the neighborhood of 130 to 180 pounds of lifting force from the spring; on a heavier custom door it can be far more. Every time the door opens or closes, that tension cycles. Steel doesn’t last forever under cycling, which is why springs fail.
When a torsion spring breaks, it doesn’t gently stop working. It unwinds at once. The stored kinetic energy from four or five turns of winding releases in a single snap, and the winding cones and shaft hardware can move violently. Extension springs have a similar hazard, though the geometry differs, and that’s why any extension spring installed without a containment cable is itself a hazard. The stored energy is what makes a failed spring dangerous, not a homeowner’s skill. A very careful, very strong person with a proper winding bar can physically wind a torsion spring. What that person cannot do is guarantee that their grip won’t slip while the spring is holding four turns and wants to release them.
In Northland, the practical case for professional spring work comes from the seasonal swing. A door that cycles hundreds of times across a full year in a garage that alternates between cold winters and warm summers sees real thermal cycling on steel. Springs that were sized correctly at install are still the wear item. When one lets go, the correct response is to stop running the opener, leave the door down, and call. Running the opener against a broken spring pulls the cable and the door’s weight onto a system that can’t carry it, which is how a spring replacement becomes a cable and drum replacement too.
This is the specific job garage door repair technicians train for. It isn’t the same skill as swapping a bike tire or a lawn mower blade. It’s a job where the failure mode is physical injury, and the correct professional decision is to leave it alone.
Cost-Honest Analysis: Where DIY Saves Money and Where It Doesn’t
The savings math on garage door work splits cleanly along the same line as the safety math, with a couple of exceptions that surprise homeowners. The tasks that look like they should be cheap to DIY often aren’t, because the tools alone cost more than the labor, or because a “DIY fix” damages adjacent parts and doubles the eventual bill. The tasks that look expensive to DIY often aren’t, because they’re genuinely simple once you read the manual. Here’s a realistic read.
Where DIY Saves Real Money
- Weatherseal replacement. A new seal runs a small fraction of what a service call costs. The job is twenty minutes with a utility knife and no special tools. Genuine savings.
- Lubrication. A tube of proper garage door lubricant is a few dollars and lasts a year. Doing this yourself is the highest-return maintenance task on the list.
- Sensor realignment. Usually a two-minute adjustment with a screwdriver. No reason to call anyone unless the sensor is failing entirely.
- Opener light bulbs and batteries. Read the manual once, and it’s done. The cost of hiring it out is absurd for the task.
- Track cleaning. No special tools. Great result.
Where DIY Saves Nothing or Costs More
- Opener replacement. The opener is often the cheapest part of the job. Old wiring, misaligned tracks, remote pairing, and force calibration are the expensive parts. A homeowner replacing an opener on a twenty-year-old door usually finds two more problems once the new one is hung.
- Spring replacement. The parts themselves are surprisingly cheap. The reason a professional spring job costs more is that it’s dangerous, and there’s no way to DIY the safety margin. Buying a winding bar isn’t the same as having the training to use it correctly.
- Panel replacement. Panels are matched to your door’s weight and balance. Installing one without recalibrating the springs leaves the door running with the wrong counterbalance, which wears the springs, the opener, and the tracks twice as fast.
- Track straightening. A track bent by a car bumper usually indicates more than track damage. Straightening it without checking the panel alignment and spring tension leaves a door that works for a month and then stops.
What a Realistic Comparison Looks Like
The honest way to think about it: if the task takes less than thirty minutes and uses tools you already own, DIY is almost always correct. If the task involves removing a part the door’s weight rests on, or if getting it wrong leaves the door unable to open safely, the professional estimate is the cheapest path. The reason is that a failed DIY repair on a garage door tends to turn a single-part fix into a multi-part fix, and the eventual cost exceeds a clean professional job done once. garage door parts supplied directly on the day of service is what kept this honest for us in Northland: the professional visit doesn’t cost extra because parts are marked up, since we supply them ourselves.
Tools and Parts Sourcing for Northland DIYers
The tool question is where most garage door guides get vague. Here’s the honest breakdown of what you can pick up at a hardware store versus what you can’t get without a commercial supplier, plus what to do about it.
What’s Available Almost Anywhere
- Weatherseal stock. Universal-fit bottom seals are common. Bring the old one or its measurements, and a hardware store will usually have something close.
- Garage door lubricant. A specific product, not WD-40. Ask for garage door or lithium-complex lubricant in a spray can.
- Common bolts, brackets, and hinges. Standard hardware for most residential doors.
- Opener light bulbs and standard batteries. Generic spec, widely stocked.
- Standard roller sets. Cheap, usually 2-inch or 3-inch nylon rollers, available in most hardware sections.
What’s Hard to Source Locally
- Winding bars. Proper torsion spring winding bars are not a retail hardware item. If you don’t already have them, that’s not a task to start.
- Springs matched to your door’s exact weight. Springs are color-coded to a specific wire diameter and length. A universal spring from a hardware store is the wrong spring unless it matches the wire gauge, inside diameter, and length your door was designed for. Getting this wrong wears out the operator and the door alike.
- Brand-specific opener parts. Motor assemblies, limit switches, logic boards, and gear kits are proprietary to each brand. These aren’t stocked at big-box stores in the sizes you need.
- Panel replacements. A Clopay panel from a Northland door installed eight years ago is often a discontinued model. There’s no retail path; the manufacturer or a specialist typically has to source it.
- Cables, drums, and center brackets. Correct part numbers vary per door model. Wrong part numbers are dangerous here.
How to Handle Parts Sourcing as a DIYer
Two reasonable paths exist. The first is to source the part yourself by identifying it precisely from the door’s build plate or the manufacturer’s label, then ordering from the manufacturer. The second is to have a specialist source the part for you. garage door parts is a service we offer on that basis: you bring the measurements and the brand, and we supply the correct part number for your door. That’s not the same as DIY work, and it doesn’t save the labor cost, but it does shortcut the guessing.
How to Do DIY Prep Work That Makes a Pro Visit Faster and Cheaper
A well-prepped professional call is a shorter, cheaper professional call. Here are the specific steps any Northland homeowner can do before the technician arrives. None of them risk injury, and all of them make the actual repair faster.
- Measure the door opening exactly. Width and height, inside the frame. Width of the opening at the widest point, height from the ground to the top of the opening. Both measurements in inches, not feet. A door sized from a rough guess is a door that comes back.
- Photograph the door from a few angles. Straight on from inside, straight on from outside, close-up of any damage, and the build label on the door’s end stile or the inside of the top panel. Photos solve most of the “bring the right part” problem.
- Identify the brand and model. Clopay, Amarr, Wayne Dalton, and every major manufacturer stamp the door’s model on a label inside the door or on the back of a hinge. The same label often carries a serial number that leads to the exact panel type.
- Locate the opener brand and model. Genie, LiftMaster, Chamberlain, and Craftsman openers all have a label on the back of the motor head with the model and manufacture date. A short photo of that label answers about half of the diagnostic questions a technician would otherwise ask on-site.
- Note the symptoms precisely. “Door won’t close all the way” is not the same as “door closes and reverses an inch before the floor,” and the difference changes what the technician brings.
- Clear the garage. A clean bay around the door, with the car backed out and the ladder accessible, saves real minutes off the visit and sometimes lets the technician do two tasks instead of one.
- Test the sensors and note the behavior. Which LED is on, whether the door reverses when the beam is blocked, whether the opener’s light flashes a certain pattern. This is diagnostic gold for free.
The general principle: the technician’s time is spent on the door, not on information gathering, if you gather it for them. That’s true whether the visit ends in a garage door opener repair or a full installation consultation. Faster diagnosis, faster fix, and less of the visit spent on the basics.
Brand Matters: Where the Hardware in Your Garage Came From
The most common DIY mistake we see in Northland isn’t a homeowner trying to do too much. It’s a homeowner replacing a part with a near-match that’s the wrong spec because they didn’t know what brand of door or opener they had. Garage door systems are not standard across brands. Roller diameter, spring winding direction, hinge radius, panel rib spacing, opener force calibration, and remote frequency all vary. A replacement hinge from one brand on a door from another brand often fits without complaint and then wears the roller at twice the rate.
The practical fix is the same one we recommend to every Northland homeowner: know your brands before you shop. Most garages in this area have one of a small number of doors and one of a small number of openers. The doors are commonly Clopay, Amarr, Wayne Dalton, or Raynor. The openers are commonly LiftMaster, Chamberlain, Genie, or Craftsman. That’s eight brands, and between them they cover the vast majority of residential garages in Northland and the surrounding area. Knowing which brand you have, and the exact model within that brand, is the single biggest DIY skill in this garage.
Our technicians train specifically on those eight brands, which is why a technician who works on them every week can identify a door’s provenance from a photo of the hinge in most cases. That’s not a skill a homeowner needs to develop. It is a skill a homeowner should borrow once, to confirm what they have, before they buy a replacement part. Garage Door Repair Northland is a garage door specialist, not a general contractor, and that focus is why brand identification here happens fast.
The Safety Testing Routine Every Northland Homeowner Should Run
Two safety tests cost nothing, take a couple of minutes, and are the most common reason we’re called for a “mystery” door problem. Run both once a month. Run them again after any weather event, any power outage, and any time you’ve noticed the door acting differently.
- The force test. With the door open and the opener disconnected from the door (pull the red release handle), lower the door by hand. It should move smoothly with the opener disconnected. If it’s heavy or stiff, the spring balance is failing. Then re-engage the opener and run the door. If any part of the cycle sounds different than it usually does, that’s a signal. The door should feel like it weighs the same amount in both directions.
- The reversal test. With the door closing, pass a box or a piece of wood the width of the door’s thickness through the safety beam. The door must reverse immediately. If it stops and stays stopped, or doesn’t react, the sensors are failing and the door is unsafe.
- The balance test. Disconnect the opener, raise the door to about waist height, and let go. A properly balanced door stays put. A door that drops was operating with the opener compensating for a failing spring, which is exactly the condition that wears out the opener’s gear.
Failing any of these tests is a reason to stop using the door and call. The most common pattern we see in Northland is a door that passed the balance test in summer and failed it in winter, because the cold stiffened the grease and put extra load on a spring that was already weakening. Catching that pattern early is what keeps a spring replacement from turning into an opener replacement on top of it.
Northland Seasonal Reality: What Each Season Asks of Your Door
Garage doors live an outdoors life bolted to an indoors house, and in Northland the seasonal swing is real. A door here cycles through freeze-thaw on the bottom seal, thermal expansion on the steel, and a stretch of summer heat that softens grease. Each season asks something specific of a homeowner.
Winter
The bottom weatherseal takes the most abuse in winter, because it seals against a slab that can frost and shift. If you see daylight under the door in January, replace the seal yourself. The second winter concern is grease thickening. Cold grease makes the opener work harder, which is why a door that was fine in October can start reversing in January. A quick lubricant pass in late fall pays off through the whole winter.
Spring
The freeze-thaw cycle of spring loosens hinge screws and puts a seasonal burden on the springs. This is the season to tighten every bracket and check the balance test. It’s also the season when Northland homeowners discover a spring has been getting weaker for months and has finally failed. If the door won’t stay at waist height when disconnected, it’s already past due.
Summer
Heat expands the steel track and the door’s panels expand along with it. A door that ran silently in April can start scraping in July. The fix for most summer track noise is a good clean and lubrication, not a track replacement. This is also the season where the opener motor runs the hottest, which is why a summer opener failure often follows a long stretch of daily use with the door out of balance.
Fall
The fall transition is when a homeowner should schedule the balance test and the reversal test as a habit, because a spring on the edge of failure often gives warning in September before failing in December. Fall is also the season where a garage door installation is often booked, because the door is the last exterior job before the freeze and the work can be scheduled cleanly. This is the season where a professional measure and written price is where the conversation starts, not a same-day call.
Common Mistakes to Avoid
- Treating a snapped spring as a “wait until next week” problem. Running the opener against a broken spring pulls the cable through the drum and often turns a spring job into a spring-plus-cable-plus-drum job. Stop using the door and call.
- Buying a universal spring. Springs are matched to the door’s weight and to the wire diameter. A generic spring from a hardware store is a wrong spring unless it matches the door’s exact spec, and the wrong spring wears out the opener and the door together.
- Straightening a bent track without finding the cause. A bent track after a strike means a panel or a bracket took the impact too. Straightening the track alone leaves the door unbalanced and unstable.
- Lubricating with WD-40. WD-40 is not a garage door lubricant. It attracts dust and doesn’t last. Use a proper garage door lubricant and the difference is immediate.
- Assuming the opener is the problem when the door is. Most “the opener is going bad” calls we see in Northland turn out to be a door out of balance. The opener is doing extra work because the spring isn’t doing its job.
- Replacing a panel without rebalancing. A replaced panel that’s a different weight than the original leaves the springs thinking they’re on a door of a different size. The result is faster wear and a door that feels wrong.
- Ignoring the safety reversal test because the door “seems fine.” A door that closes is not the same as a door that reverses. The test takes a few seconds and it’s the one that matters.
See the difference
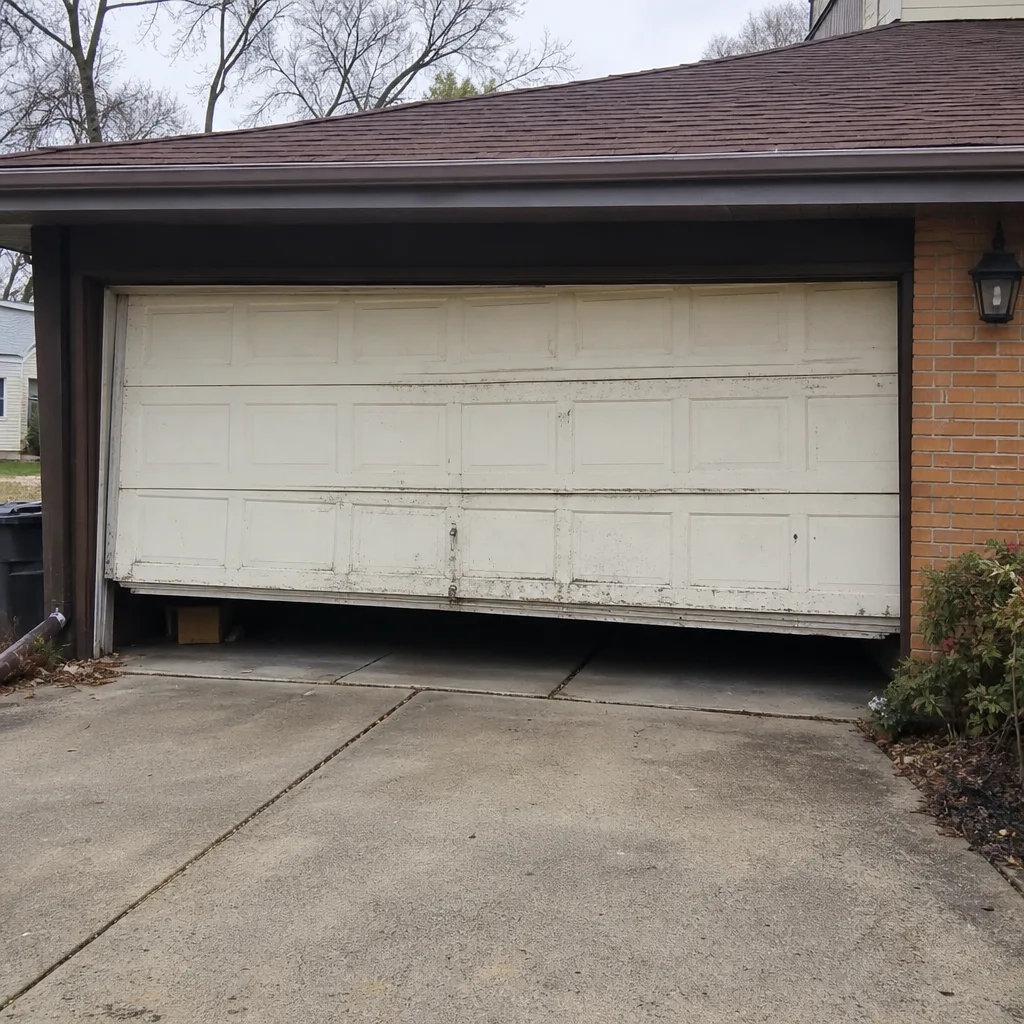 Before
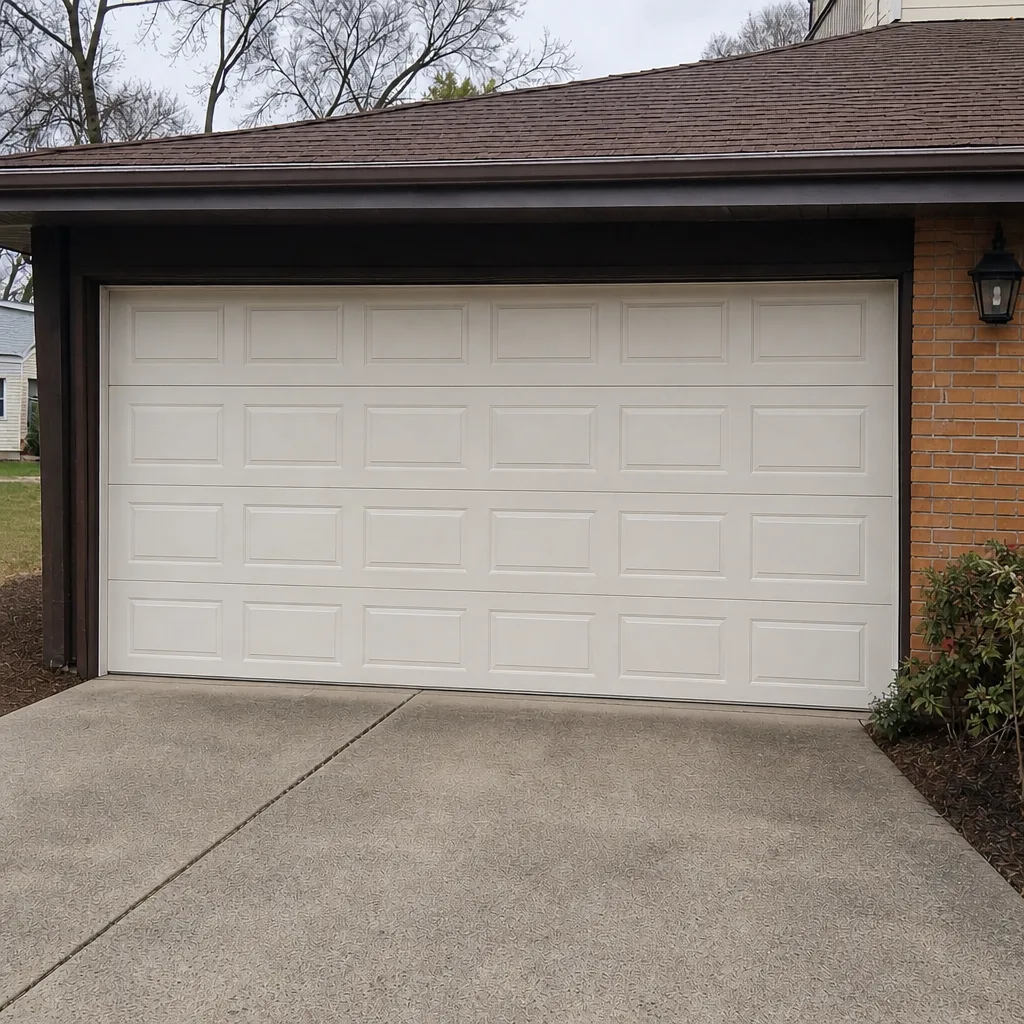 After
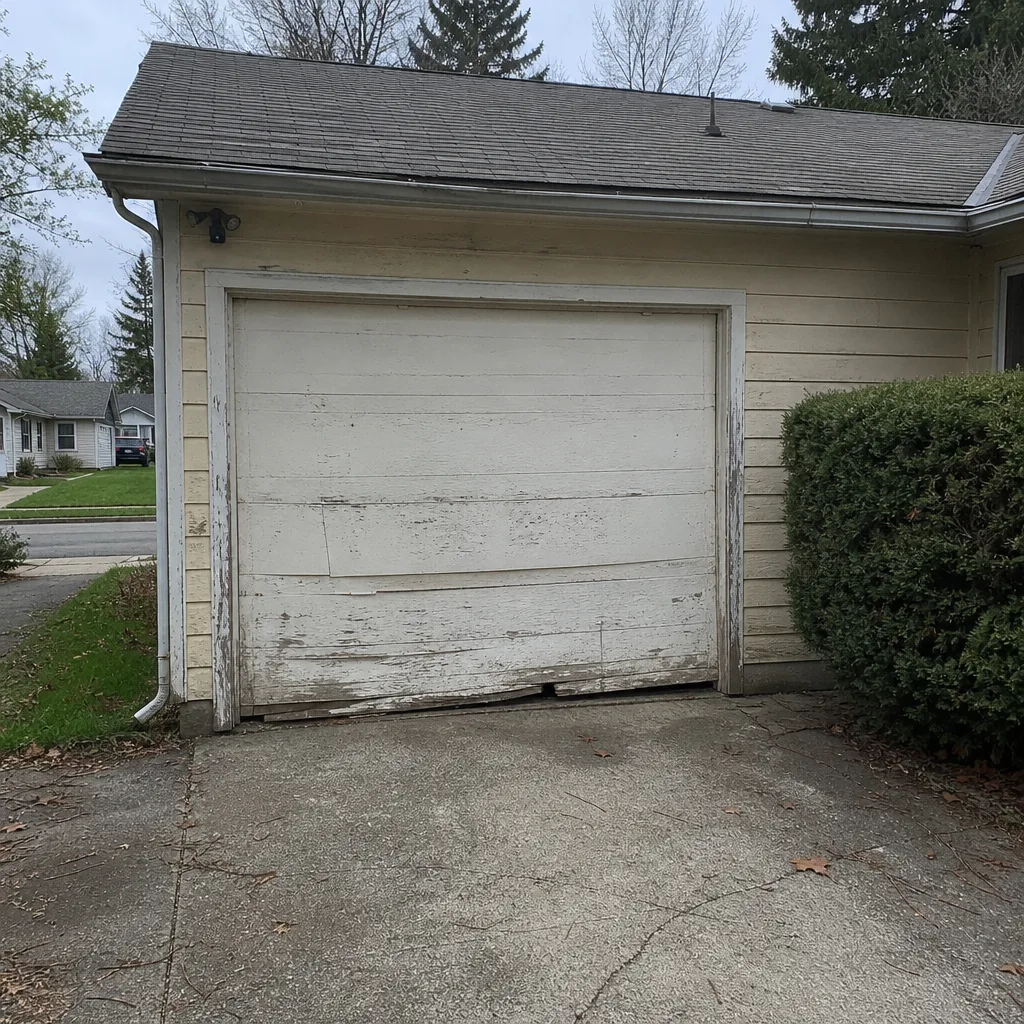 Before
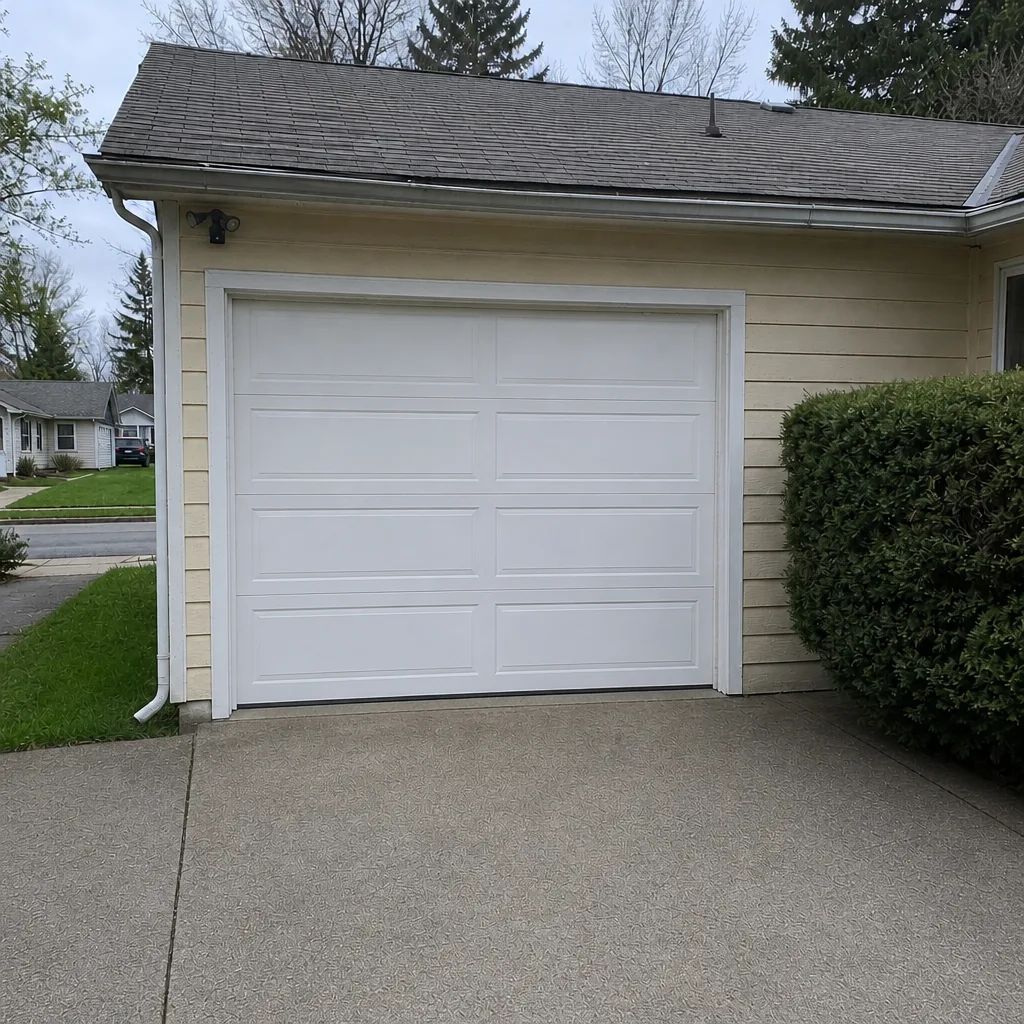 After
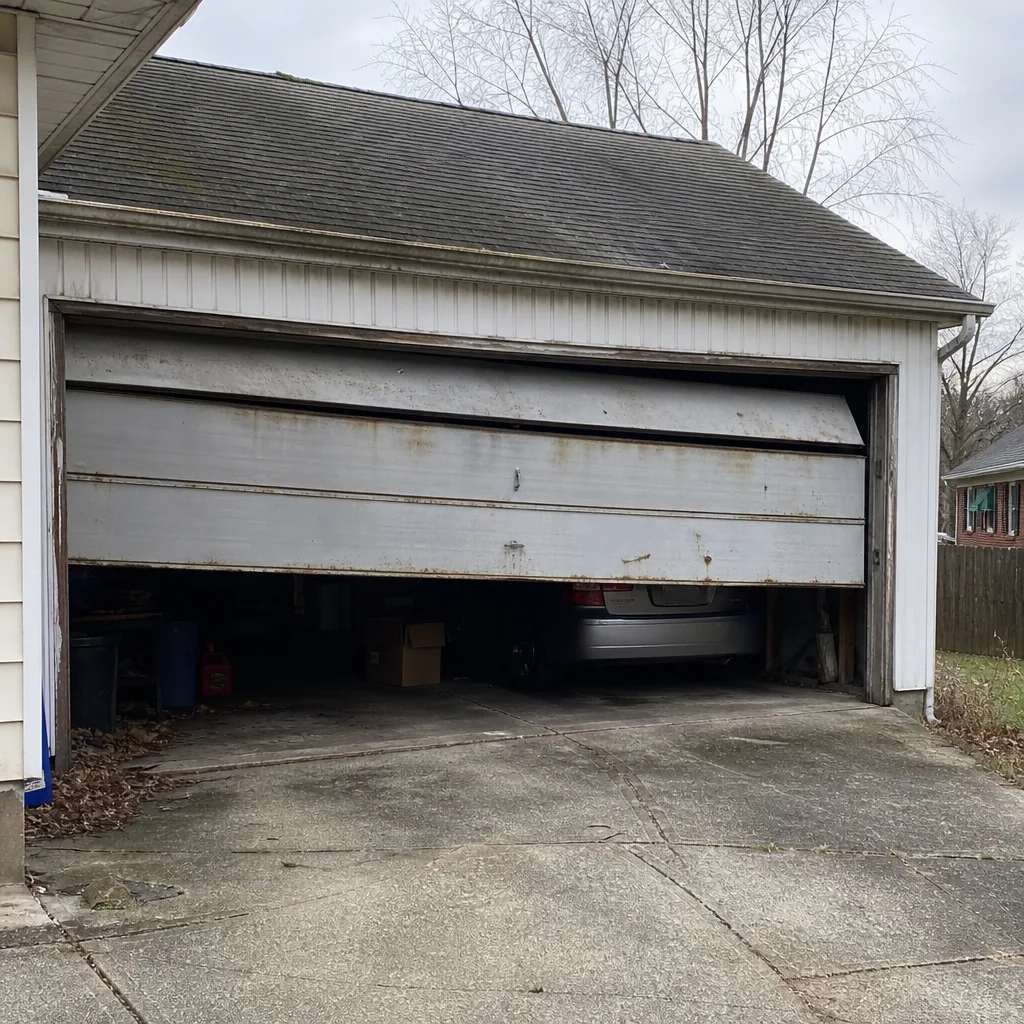 Before
 After
When to Call a Professional
Call a professional the moment any of these are true. A spring has broken; you heard a bang from the garage, or the door is visibly heavier than it used to be. A cable is loose, frayed, or off the drum. The door is hanging off-level or one side is noticeably lower than the other. A car has hit the door and the panel or track is bent. The opener runs but the door doesn’t move, or it moves and then reverses. Any of these indicates a failure that a homeowner can’t safely investigate beyond a visual inspection. The right move isn’t to keep testing; it’s to stop using the door and call. Garage Door Repair Northland offers free estimates in Northland – call (866) 347-6067. The estimate is quoted and agreed before any work starts, so the price you accept is the price you pay.
Frequently Asked Questions
No. Torsion springs are wound under enough tension to lift the full weight of the door, and a slip during a spring adjustment releases that energy in a fraction of a second. Carefulness isn’t the protection; the training and the proper winding bars are. Leave this to a professional, and stop using the door if a spring is visibly loose or the door has gotten heavy. Call (866) 347-6067 for an estimate on spring work in Northland.
Weatherseal replacement, lubrication, sensor cleaning and alignment, bracket tightening, opener light bulb and battery replacement, and track cleaning are all straightforward DIY tasks. The line is whether the task involves spring tension, cable load, or the door’s counterbalance. If it doesn’t, you can do it. If it does, call us. Estimates are free.
No. We inspect the door and quote the price in writing before any work starts, and the price you accept is the price you pay. If we find a second issue while we’re there, we tell you what it is and what it costs before we touch it. Call (866) 347-6067 for a free estimate in Northland.
Usually yes, because panels are weight-matched to the door and to the springs. Swapping a panel without rebalancing leaves the door running with the wrong counterbalance, which wears the springs, tracks, and opener faster. A professional measure of the door’s weight and panel spec is what prevents that. Call (866) 347-6067 and we’ll tell you whether a panel swap or a full replacement is the right answer for your Northland door.
Look for a label or stamp on the inside of the door’s top or bottom panel, or the end stile. Clopay, Amarr, Wayne Dalton, and Raynor all label their doors, and the label usually includes the model. The opener has a separate label on the back of the motor head; that’s where you’ll find the Genie, LiftMaster, Chamberlain, or Craftsman model and manufacture date. A photo of both labels answers most of what a technician needs to bring the right part.
In principle, yes, but the check almost always costs more than it would have to have the whole job done once. Replacing an opener requires a correct mount, force calibration, safety sensor alignment, and remote pairing, and a small misalignment in the tracks makes the new opener work twice as hard. We’d rather quote the full job and do it once. Call (866) 347-6067 for a free estimate.
The Bottom Line
The garage door is not one system; it’s a set of tasks with very different risk profiles, and the honest way to approach it is by task, not by skill level. Weatherseals, lubrication, sensor cleaning, and bracket tightening are yours to own and they genuinely save money. Spring work, cable work, track realignment, panel replacement, and opener replacement are professional-only, not because they’re too hard to attempt but because the failure mode is instantaneous and physical. Prep work is the bridge: measurements, photos, brand identification, and a clear symptom description make a professional call faster and cheaper. Get that right, and the decision between DIY and professional stops being a philosophical one. It’s a checklist.
Call (866) 347-6067 for a free estimate. We do garage doors, and only garage doors, in Northland.
Written by the team at Garage Door Repair Northland.